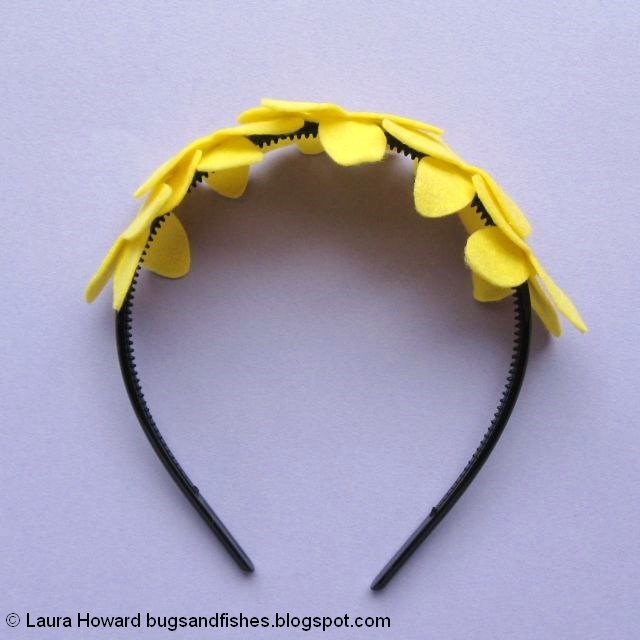
This colourful felt daffodil headband (or hairband, whatever word you prefer!) is fun and easy to make and would make a fab addition to a spring outfit.
The templates are from my felt daffodils wreath tutorial. Even if you don't fancy making the whole wreath, the felt flowers are perfect for using in different spring craft projects like this one.
Both of these tutorials originally appeared on The Village Haberdashery's blog - visit their shop for lots of crafty goodness!
To make this cute and colourful felt headband you will need:
* The template sheet from the daffodil wreath tutorial.
* Orange and yellow felt.
* Orange stranded embroidery thread (floss).
* A plastic headband / hairband / Alice band.
* Yellow sewing thread
* Sewing scissors
* Embroidery scissors (these are great for cutting out small or fiddly shapes!)
* Sewing needles and pins
* A glue gun and glue
* A heat-proof mat for the glue gun
* Newspaper to protect your workspace from any glue drips
* Optional: pinking shears
To make the headband:
1. Use the Narcissi templates from the daffodil wreath templates to cut out the following felt pieces: ten yellow petal pieces, five orange trumpet pieces and five orange circles.
When you cut each trumpet cut along three sides of the template with sewing scissors and along the remaining (long) side with pinking shears – just above the edge of the paper template. If you don’t have any pinking shears you could use embroidery scissors to cut a zigzagged edge, or just cut a straight edge.
2. Follow steps 3, 4 and 5 from the daffodil wreath tutorial to sew the trumpet and petals together.
3. Use a glue gun to stick the flower pieces to a plastic headband: first the petals, then the trumpets. Start with the central flower and work outwards, adding a small amount of glue to the felt pieces and pressing them in place very carefully.
IMPORTANT: take care when working with the glue gun as the glue gets very hot! Always place it on a heat-proof mat when not in use, and use newspaper or other scrap paper to protect your workspace. Work slowly, squeezing the gun with care to control the amount of glue you’re using and keeping your fingers out of the way of the hot glue.
Cute, huh? Now it's time to go take some daffodil selfies...
Enjoyed this free tutorial? Buy me a "coffee" and help support my blog!

This tutorial is for non commercial use only: you can use it to make as many headbands as you want for yourself or as gifts, but please don't make any for sale. You may borrow a couple of photos if you want to blog about this project, but remember to credit me and link back to this page on my blog, and do not reproduce my entire tutorial / share my templates on your site. Thanks!
P.S. Subscribe to my newsletter for a monthly free pattern and visit my crafty tutorial archive for lots more free projects.
Visit my shop to buy my printable PDF sewing patterns:


0 comments:
Post a Comment