Sooo... why not lean into your love of all things crafty and make some crafting-themed baubles to hang on your Christmas tree?
This tutorial is sponsored by Bostik, and is part of a series of crafty projects I'm sharing using their range of adhesives.
So far I've also made a giant floral hula hoop wreath, some autumn leaf cards, some fun 3D cards, a cute autumn scene in a mason jar, and a reindeer Christmas card.
Today's project is super easy and fun: turning bits and bobs from your craft stash into cute sewing-themed ornaments to add to your holiday decor.
I decorated my baubles with some old sewing pattern pieces, a cheap and colourful tape measure I got in a sewing kit, and some sequins. You could also make these with knitting patterns, embroidery patterns, or cross stitch charts, and they'd look just as fab!
These crafty baubles would be a great addition to your Christmas tree... but you could also use them to make a garland for your sewing room, as card toppers, or as gift tags (maybe with some crafty gift wrapping?).
I decorated my baubles on one side only, but if you want your baubles to be double-sided just repeat steps 2-4 as you work through them.
You will need:
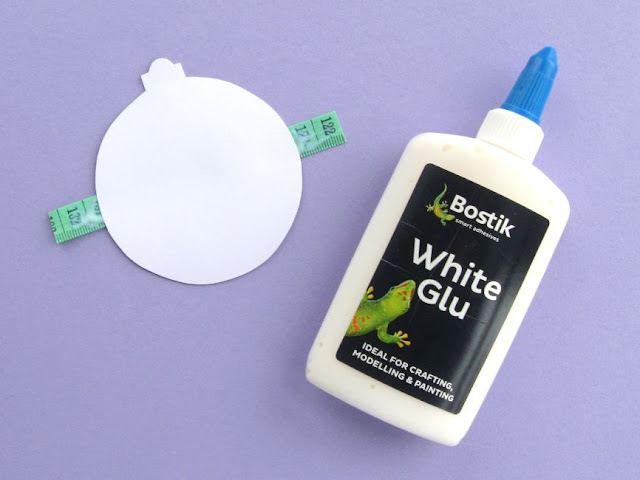
- a Bostik Blu Stick (or other glue suitable for sticking paper and card)
- some Bostik White Glu (or other craft glue)
- white card
- craft scissors
- a pencil
- an old sewing pattern (or a knitting pattern or cross stitch chart, e.g. from a craft magazine or a second hand book).
- a measuring tape
- some sequins
- a darning needle (to poke holes in the tops of the baubles)
- some thread, yarn or bakers twine for hanging the baubles
- the bauble template provided at the bottom of this post
How to make a craft-themed Christmas bauble:
1. Use the bauble template and a sharp pencil to draw a bauble shape on white card, then cut it out.
White card is crucial as a neutral base if you're using a semi-transparent sewing pattern to decorate your baubles, but if you're using book or magazine pages, you could use scrap card from cereal boxes or other packaging as your bauble base because the card will be hidden by the thicker paper.
2. Use a glue stick to cover the card bauble in glue, then stick it to the back of the sewing pattern (or whichever craft pattern you're using). I found it helpful to roughly cut out interesting sections of the sewing pattern ready to stick the bauble shapes to, rather than working with whole pattern pieces laid out on my desk.
I used a Bostik Blu Stick for sticking my bauble shapes. The glue starts out blue then dries totally clear, so it's perfect for making sure you've completely and evenly covered a card shape with glue.
Before the glue dries, turn the bauble over and carefully smooth down the paper to make sure it's completely stuck down without any air bubbles or creases.
Once the glue has dried and the paper is firmly attached, cut away the excess paper leaving a decorated bauble shape.
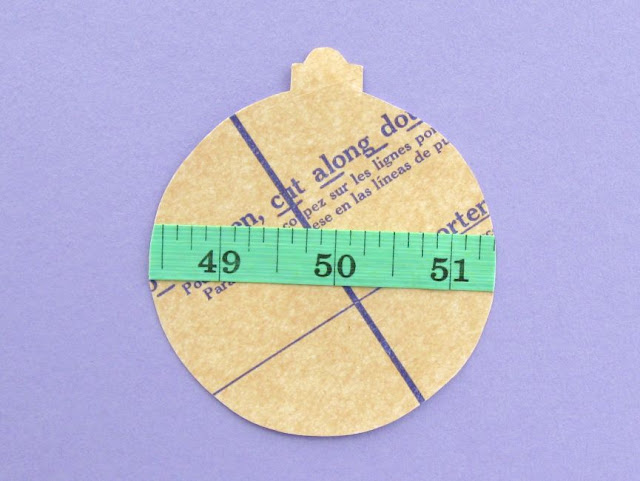
3. Cut a length of measuring tape slightly wider than the bauble.
Don't have a measuring tape or just fancy a different look? If you're using a pattern from a craft book or magazine, you could cut a colourful strip from the photo of the finished project to run across the centre of the bauble.
Add some craft glue to the back of the tape and press it in place on the front of the bauble.
I used Bostik White Glu to attach the measuring tape (and the sequins in the next step). The glue is really easy to control via the nozzle and it dries clear so if you accidentally use too much it won't show on your finished bauble.
Turn the bauble over and leave it to dry, then trim away the excess tape.
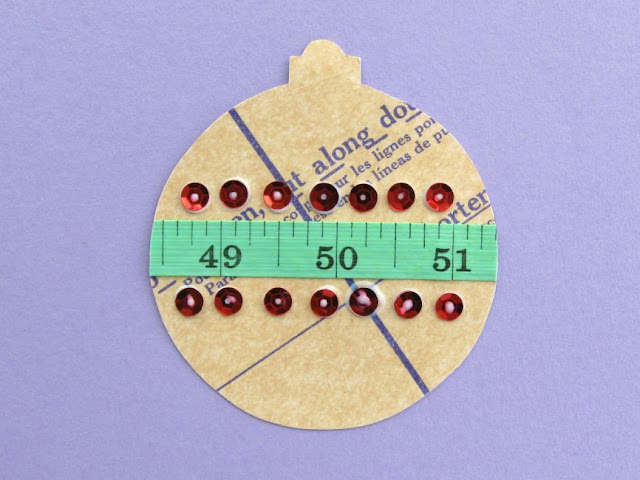
4. Add two rows of sequins to give your bauble some sparkle!
Tip: lay out your sequins on the bauble to check how many will fit in each row, and to get a rough idea of the spacing before you get out the glue.
I used more of the Bostik White Glu to attach my sequins, adding two rows of small dabs of glue then carefully pressing the sequins in position.
Leave the bauble to dry - the glue will dry clear, so don't worry if you add a bit too much!
5. Use a darning needle to carefully poke a hole in the top of the bauble, then use the needle to thread a piece of sewing thread / yarn / bakers twine. I used some lovely sparkly sewing thread for my baubles, knotting the thread securely in a loop and trimming any excess loose ends.
DISCLOSURE: this post is sponsored by Bostik, who also provided the Blu Stick and White Glu I used to make the baubles.
Click here to open the template sheet in a new window, make sure you're viewing it full size then print it at 100%.
P.S. Fancy some more free crafty goodness? Subscribe to my newsletter for a monthly free pattern and visit my crafty tutorial archive for lots more free projects.


