Friday, 11 March 2022

Tutorial: Sew Felt Spring Tree Brooches

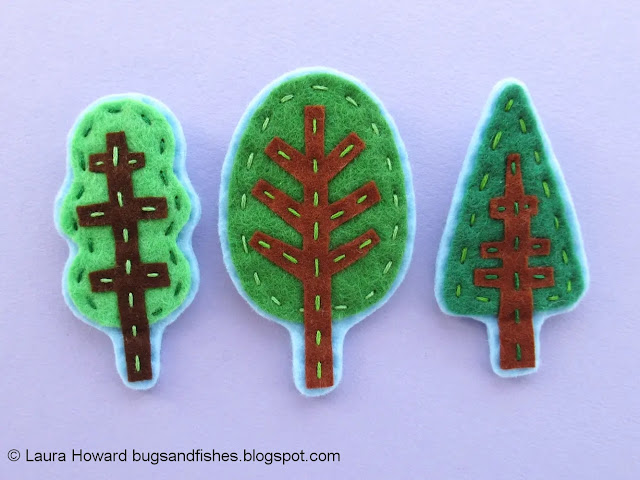
Spring is coming! Celebrate the return of all things green and glorious - or just your love of trees - with today's sewing tutorial: a step by step guide to making a felt tree brooch.


These trees started off life as part of a tutorial for some autumn leaf and tree cards...
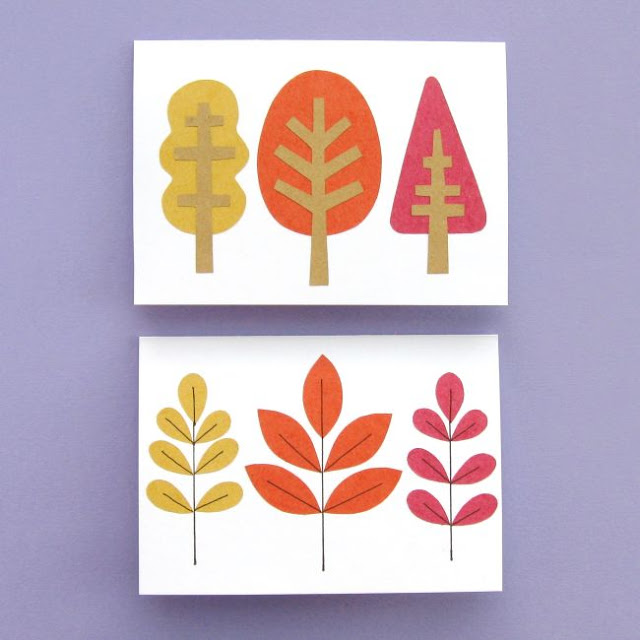
... then I couldn't resist doing a spring version, so I made some spring tree textile art...
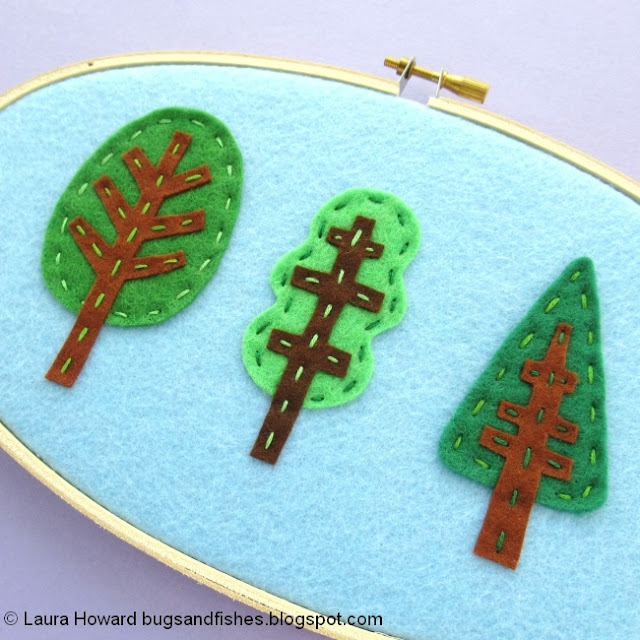

... and shared some spring tree embroidery patterns:
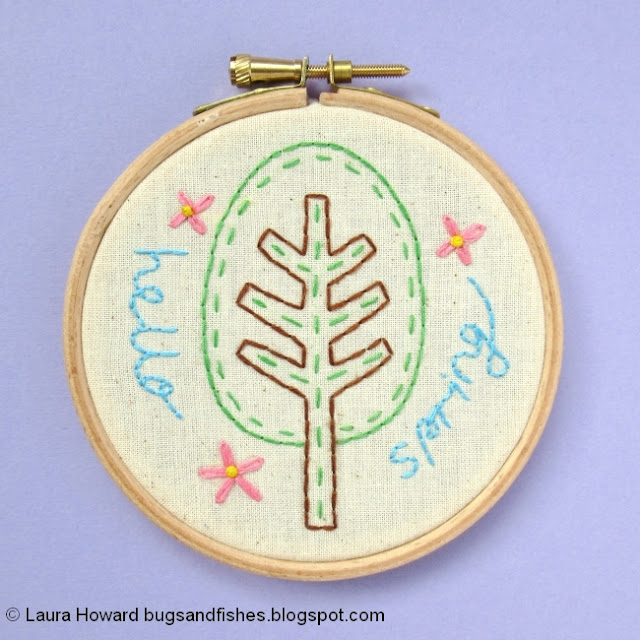

Obviously I had to make some felt tree brooches, too! :)

You could also add ribbon loops to create little tree ornaments, or sew lots of trees for a spring forest garland. These would also make sweet motifs or patches to add to larger projects.
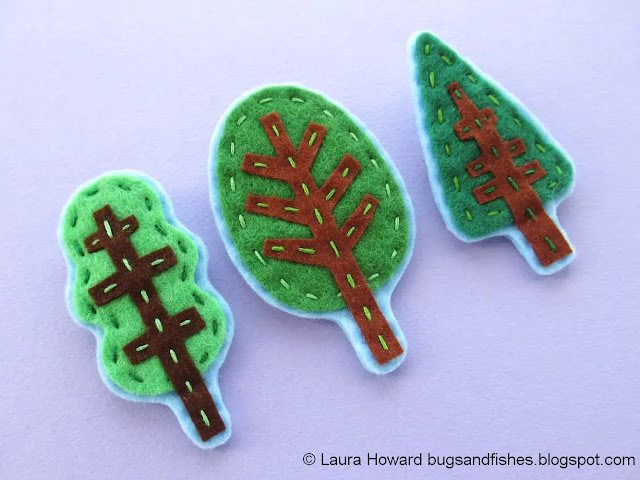

How to make a felt tree brooch:

1. Follow the steps in my spring tree textile art tutorial to sew your chosen tree design, using the templates linked to in that post. 

Instead of sewing the tree pieces to a piece of felt in an embroidery hoop you can just sew them to a piece of loose backing felt, but you may find having the felt held in the hoop makes it easier for you to add the embroidered details. If you're sewing your tree on loose felt there's no need to use tacking stitches to hold the tree shape in position, just use a pin instead.

If you're planning on making a few trees, try it one way then the other and see which method works best for you!

2. Remove the felt from your embroidery hoop (if you've used one) then cut out the tree shape, leaving a narrow border of the backing felt.


3. Use the tree shape as a template to cut out a matching matching shape from more of the backing felt. This plain shape will become the back of your brooch (or ornament, etc).
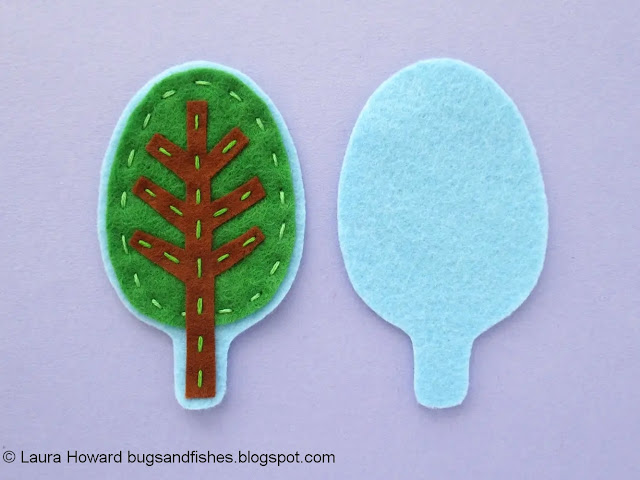

4. Turn the back of your brooch over, and add a brooch clasp. Sew it with a double thickness of sewing thread to match the backing felt.
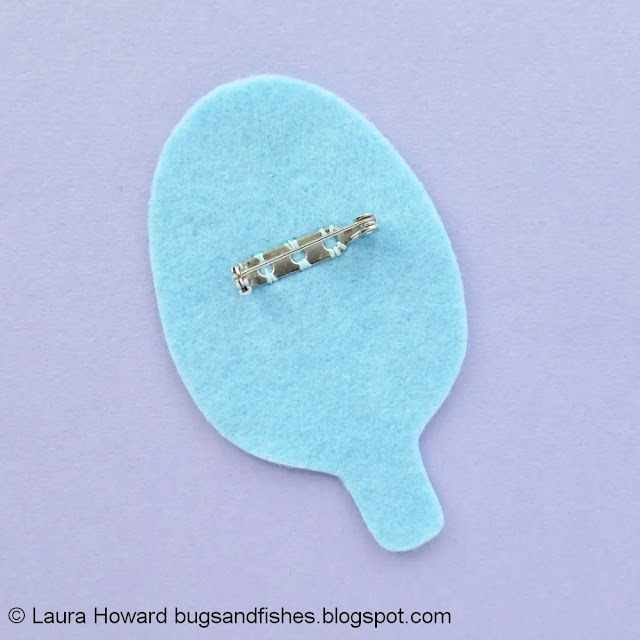

5. Then hold the front and back of the brooch together and use more of the same thread to join them together, sewing flush around the tree shape with running stitch. And you're done! Arboreal felt goodness to pin to your jumper (sweater) or jacket this spring.

This tutorial is for non commercial use only: you can use it to stitch as many trees as you want for yourself or as gifts, but please don't make any for sale. Thanks xx

Enjoyed this free tutorial? Buy me a "coffee" and help support my blog!

Buy Me a Coffee at ko-fi.com

P.S. Subscribe to my newsletter (currently taking a break but hopefully back soooon) for free patterns and visit my crafty tutorial archive for lots more creative projects.

Visit my shop to buy my printable PDF sewing patterns and lots more:


Wednesday, 9 March 2022

Felt Dog Brooch Craft Kits for Hawthorn Handmade

I am DELIGHTED to be able to tell you that I've designed some more felt craft kits for Hawthorn Handmade!

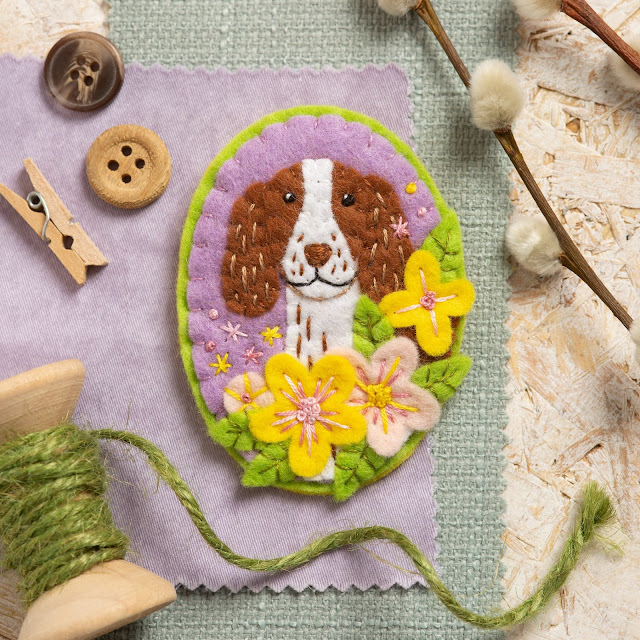
Last year they launched wildlife brooch sewing kits and flower brooch sewing kits, all designed by me, and now we've added dog brooches to the range. 

There's a Springer Spaniel...


... a Golden Retriever...


... and a Dachshund in a little cosy coat!


It was a very fun challenge capturing the character of each of these three breeds, and I'm really pleased with the end result. I love the thought of dog lovers around the world will have hours of crafty fun stitching these little guys!


Click here to shop the whole range of felt craft kits.

Monday, 7 March 2022

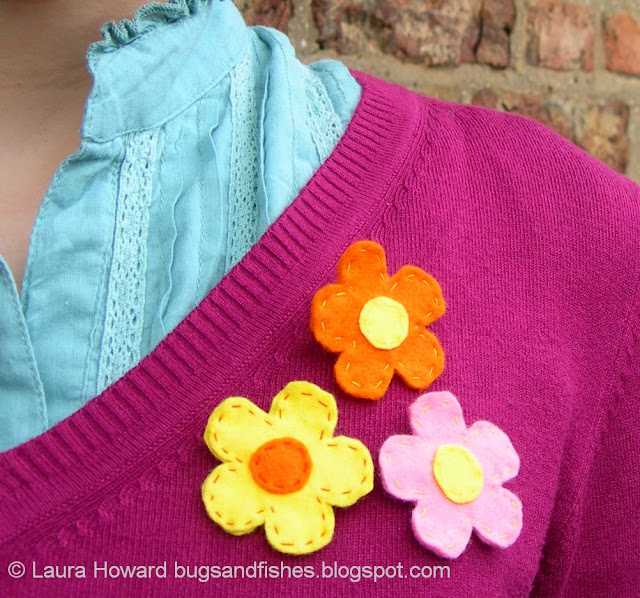
Tutorial: Sew Easy Peasy Felt Flower Brooches!

Today I'm sharing a super simple felt flower tutorial which is perfect for beginners, crafting as a family, or just for when you want a quick and easy make. 


I've made my flowers into brooches, which always make lovely gifts, but they'd also be great for decorating a spring or summer wreath or for adding to lots of crafty projects. 


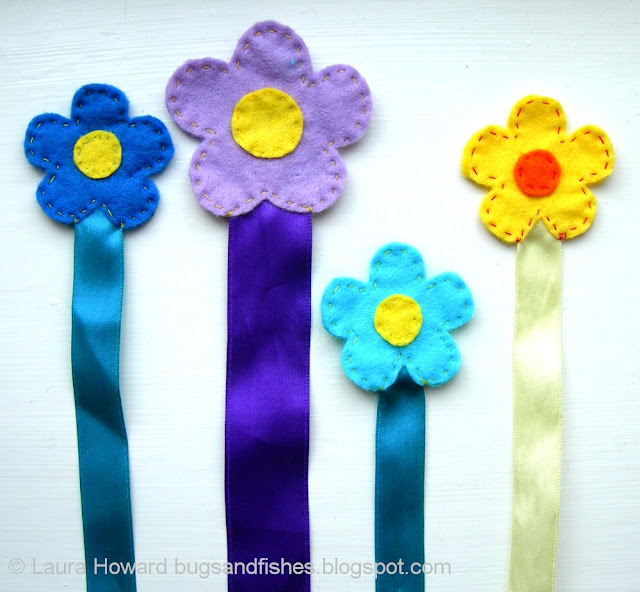
You could also add a hairclip to the back instead of a brooch clasp, or sew each flower onto a piece of ribbon to make bookmarks - like these I made years ago:

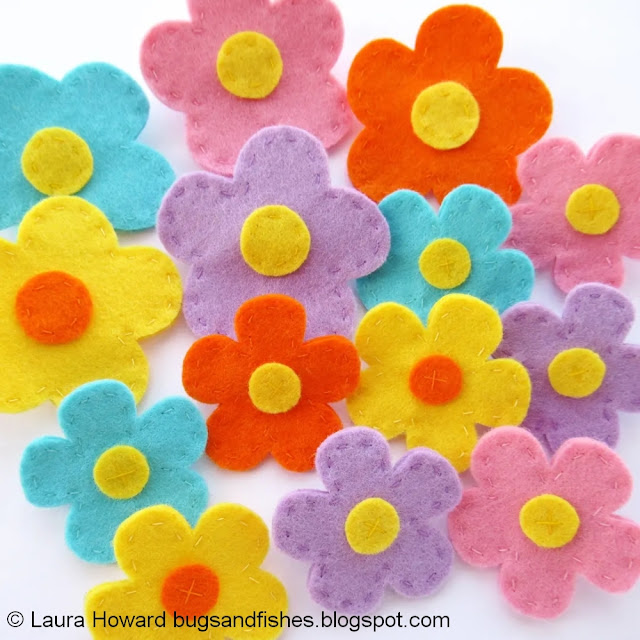
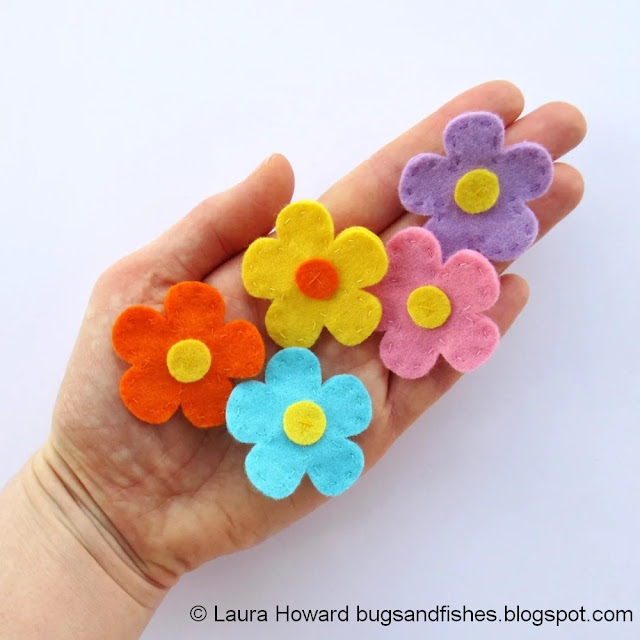
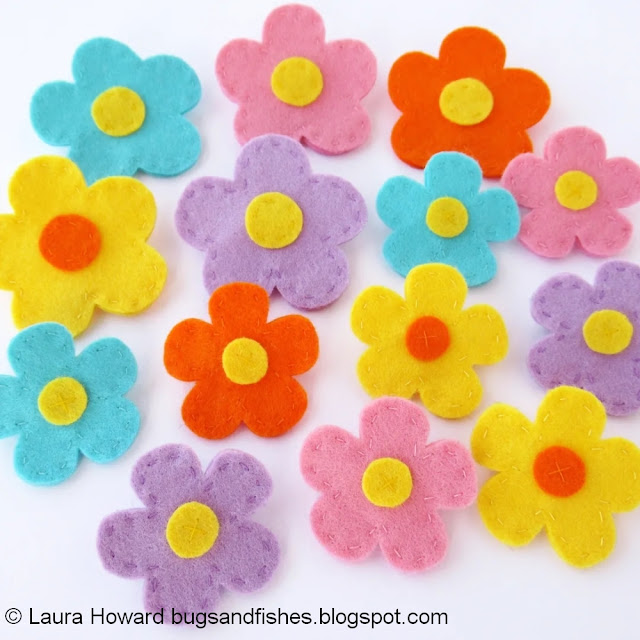
You can make small flowers...


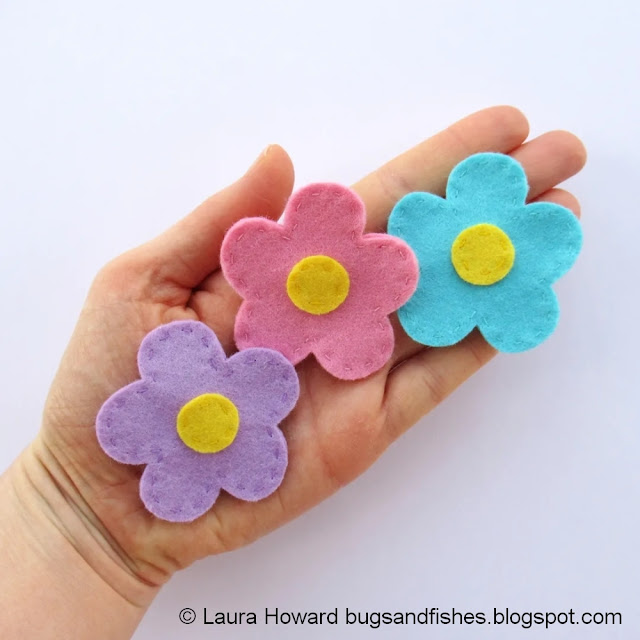
 ... or large flowers...


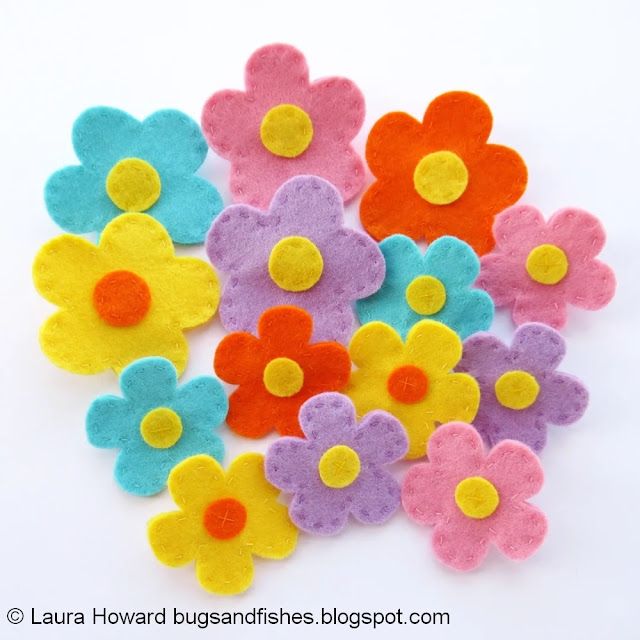
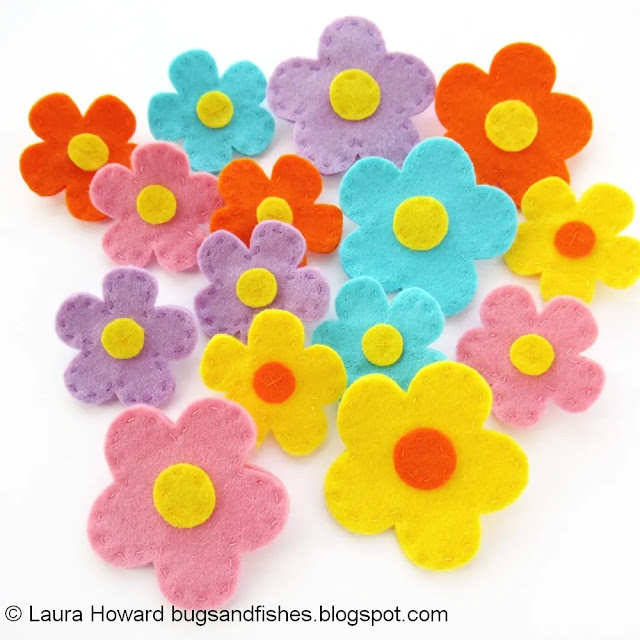
 ... or a selection of both sizes.

I've sewn my flowers in a pretty spring / early summer palette: orange, yellow, pale pink, lilac, and aqua blue. I've used yellow felt for the flower centres except for the yellow flowers which have orange centres.


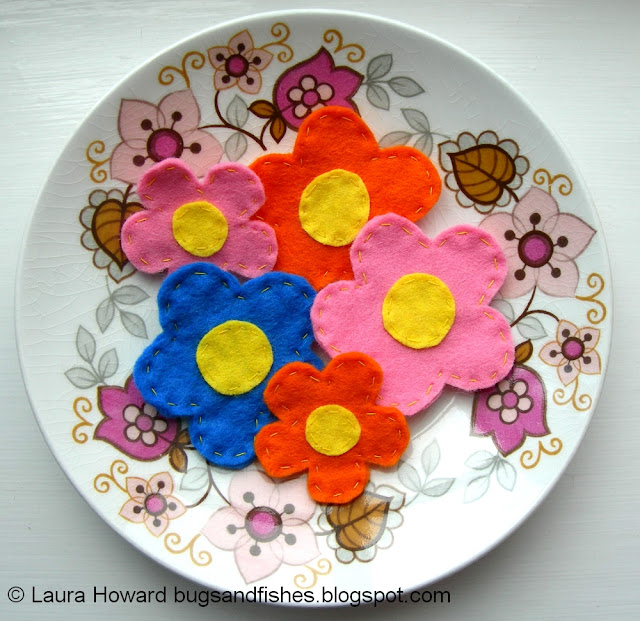
I chose to use matching thread throughout - yellow thread to sew yellow felt, pink thread to sew pink felt, etc - so the thread almost disappears against the felt, but you could choose contrasting colours to add detail and make your stitching part of the design. Here's a batch of these flowers I made years ago, all sewn with yellow thread:

For more detail and variety, why not add a sequin, small button, or some seed beads to the flower centres? Or play around with embroidery thread and some simple stitches to add lines or simple patterns to the petals?

It would be really fun to make these flowers in colours to match a favourite outfit - maybe a trio of flowers, each picking out different colours from a dress you love? Or in shades that really pop against a favourite jumper?


For each flower, you will need:

- Felt in two colours

- Matching sewing thread

- A sewing needle, and a pin

- Sewing scissors (embroidery scissors are great for cutting out small shapes!)

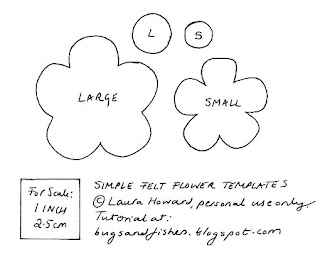
- The templates included at the bottom of this post

- A brooch clasp or a safety pin


To make a simple flower brooch:

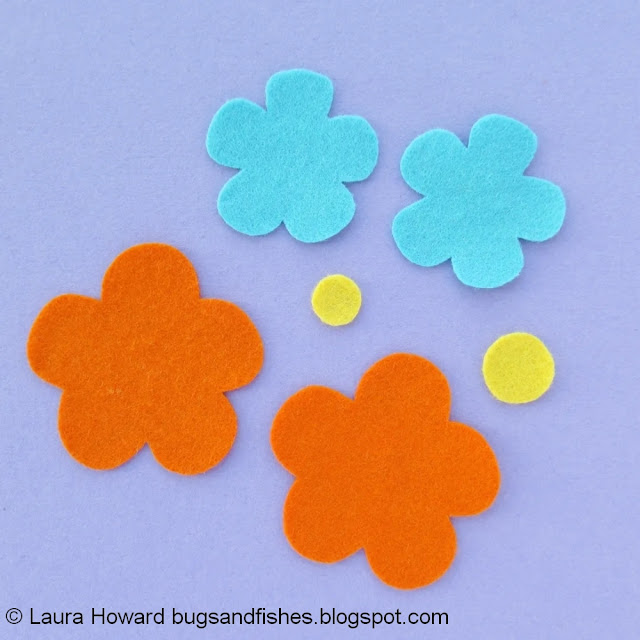
1. Use the templates provided to cut out one flower centre, and two flower shapes. Hold or pin the paper templates to the felt as you cut out each shape.

If you're making a large flower, cut a large (L) centre circle. If you're making a small flower, cut a small (S) centre circle.


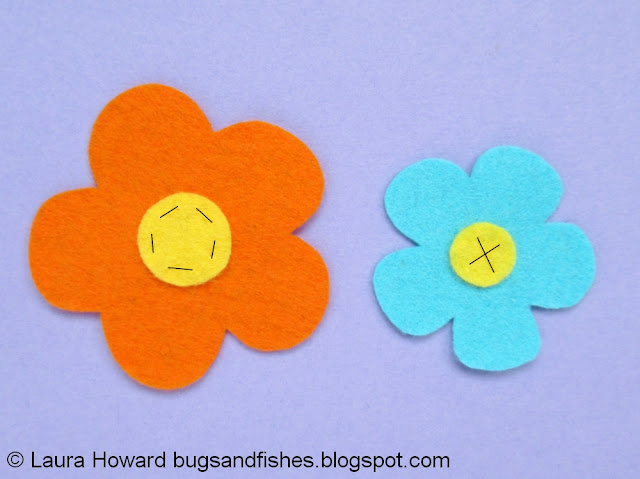
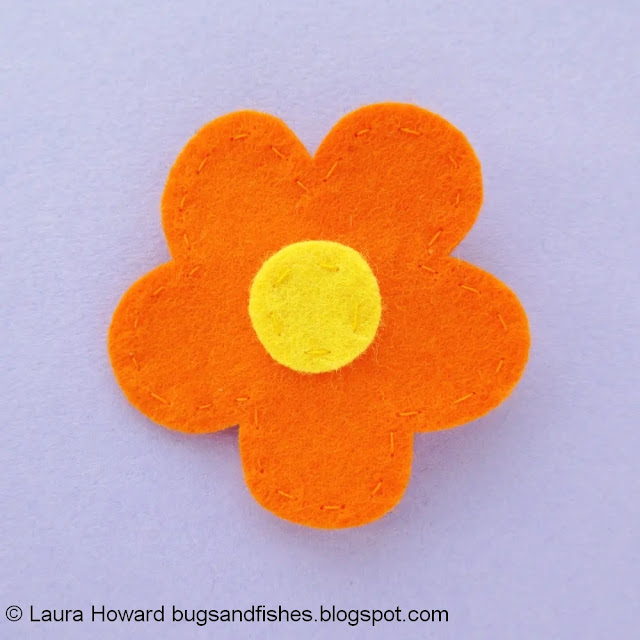
2. Position the centre circle in the middle of one of the flower pieces, and sew it in place with matching sewing thread. For the small flowers I stitched the circles in place with an X of two single stitches. For the larger flowers I used running stitch. 

I've marked this stitching on the photo with black to make things clearer as it's hard to see yellow stitching on yellow felt!


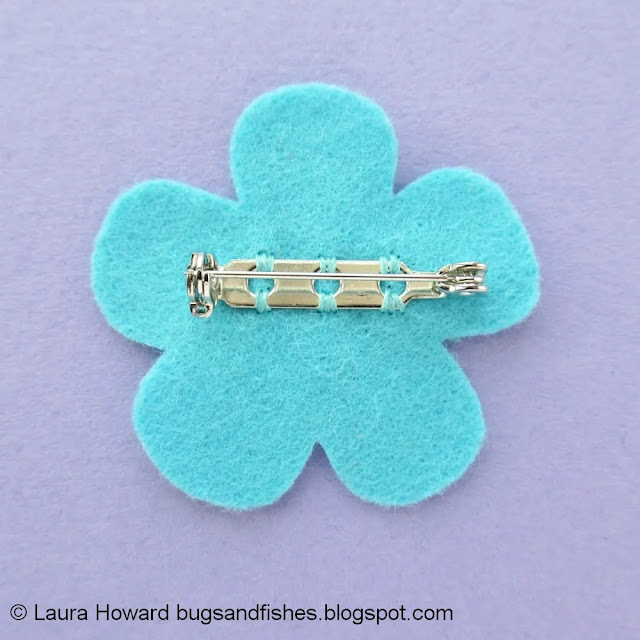
3. Now take the other flower shape and turn it over.

If you're adding a brooch clasp or hairclip, sew it in place with a double thickness of matching thread and lots of stitches to make things nice and secure.


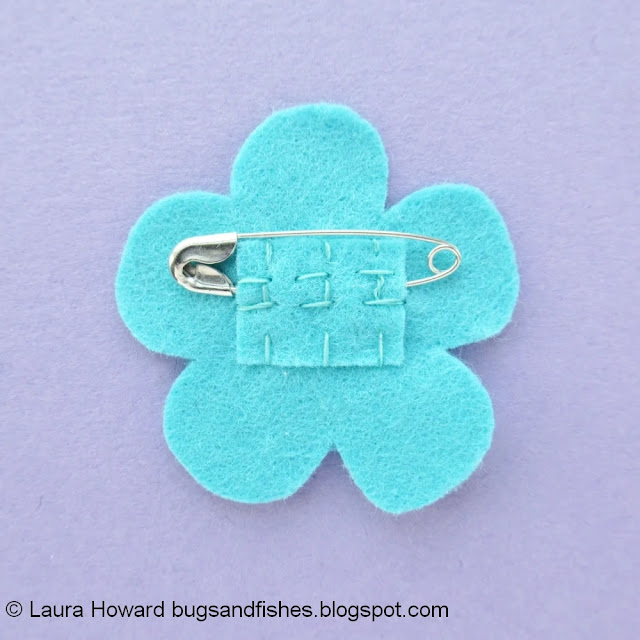
If you're using a safety pin, use matching thread to sew a small rectangle of felt over the fixed bar of the pin, holding it in place. I used running stitch for this, sewing two horizontal lines as close as possible to the pin then three vertical lines, as shown.


4. Finally, place the front and back flower pieces together and sew around the edge with running stitch and matching thread. Start your stitching inside the flower so your knot will be hidden between the felt layers, then finish your stitching as neatly as possible at the back.


Then repeat these steps as many times as you like! :)

This tutorial is for personal (non-commercial) use only. You may borrow a couple of photos if you want to blog about this project, but remember to credit me and link back to this page on my blog, and do not reproduce my entire tutorial / share my templates on your site. Thanks!

Enjoyed this free tutorial? Buy me a "coffee" and help support my blog!

Buy Me a Coffee at ko-fi.com

P.S. Subscribe to my newsletter (currently taking a break but hopefully back v soon!) for free patterns and visit my crafty tutorial archive for lots more free projects.

Visit my shop to buy my printable PDF sewing patterns:

Click here to open the templates in a new window, then print them at 100%.

Wednesday, 2 March 2022

Craftivism: Black Lives Matter Embroidery

I'm very late blogging about this, but... 

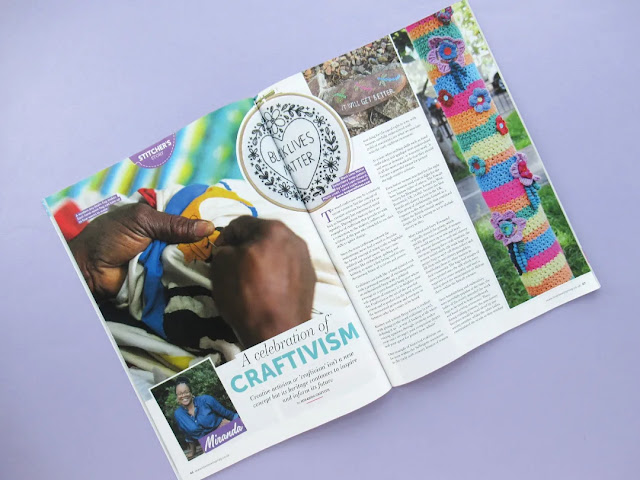
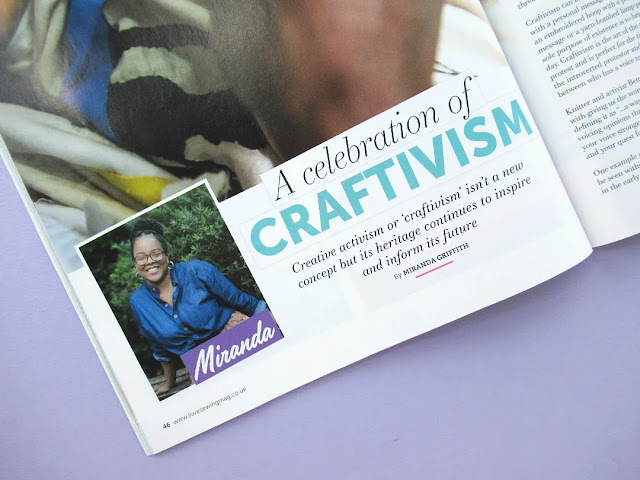
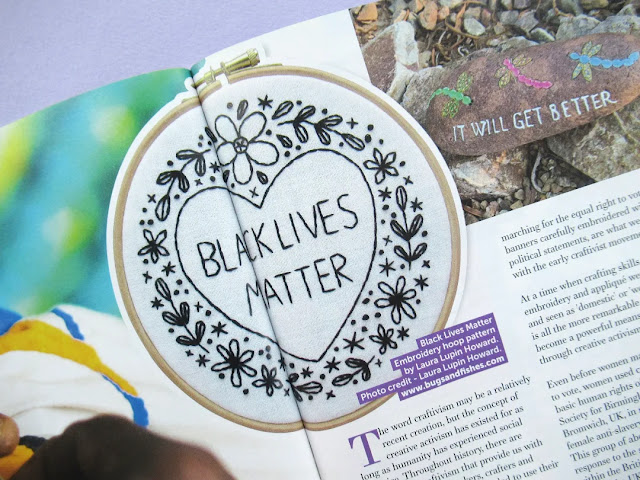
Way back in the autumn of 2020 I was absolutely delighted when Miranda got in touch to ask if she could include my Black Lives Matter embroidery pattern in an article she was writing for Love Sewing magazine about craftivism. Of course I said yes!


It felt like a real privilege to have my work included in a piece like this, and it was a joy to get hold of a copy of the magazine that winter and see it in print.


Then I got another lovely surprise last spring, when a friend spotted the article had been reprinted in Crochet Now magazine. Obviously I had to go to my local newsagent to track down a copy of that one, too...

I remain incredibly proud of this pattern and the (small) impact it's had through people around the world stitching it and using it to raise funds for important causes. If any of my work deserved to be printed in a pair of magazines like this, it's definitely this piece!

Click here to read more about this pattern, and download it for yourself.