UPDATE: my felt watermelon tutorial is now available in my Patreon pattern library.
Subscribe for a small monthly fee and you'll get access to a growing library of PDF patterns and tutorials, with an email whenever I add a
new project. You can cancel any time.
-----
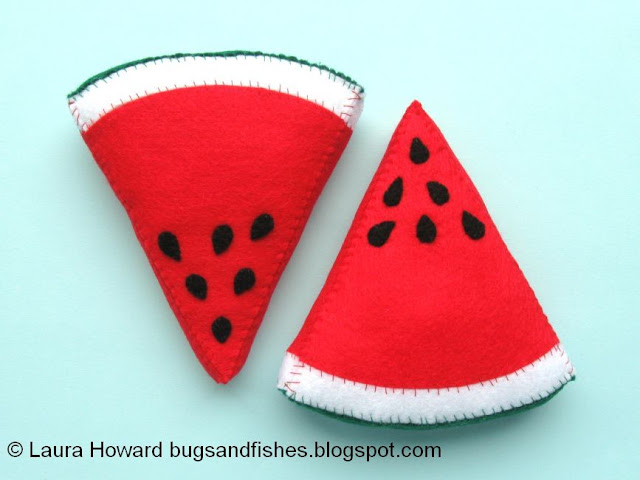
Time for the penultimate tutorial in my felt fruit series: how to sew slices of watermelon.
A faux watermelon slice would look fun propped up against a bookshelf, or you could add a ribbon loop and hang it as a quirky ornament or sew on a brooch clasp and wear it as a giant fruity brooch.
Or why not make the whole set of felt fruit and display them in a bowl? I've already shared tutorials for sewing the apples and pear, the orange and apple slices and the strawberries. I'll post the kiwi tutorial sometime soon.
Please note that the finished felt fruit is intended for decorative use only - it is not a toy and should be kept well out of reach of young children.
This project was originally published in docrafts Creativity magazine and stitched using felt from their Craft Planet range.
Subscribe to my newsletter for creative updates, and visit my crafty tutorial archive for lots of free projects.
Visit my shop to buy my printable PDF sewing patterns:


6 comments:
They are all pretty but the watermelon reminded me of the summer and I can't wait to feel the first sweet juices of it! It is so realistic and with the sun shining behind the window right now I almost forgot it's still February!
Oh Laura! These look like so much fun! I love making felt food for my grandbabies as much as they love playing with it! Thank you for sharing! Pinning this post!
Miaismine - thanks for your lovely comment! Unfortunately though my felt fruit tutorials are not intended as toys, just for decorative use xxx
Bairozan - thank you!! I really enjoyed making these :)
These are soooo cute. I want my own set of felt fruit.
Thanks, Joy! Do let me know if you end up sewing some :)
Post a Comment