Showing posts with label nature. Show all posts

Monday, 2 October 2023

The Sycamore Gap Tree - Free Felt Ornament Tutorial

Sew a felt ornament to commemorate the beautiful (and now sadly felled) Sycamore Gap tree on Hadrian's Wall!


The shocking news has prompted such an outpouring of love for the tree, and for our connections with nature and the landscapes that mean so much to us.

I thought it would be nice to design a felt ornament to celebrate and remember that specialness!


The step by step sewing tutorial includes templates and instructions for making three different Sycamore Gap ornaments - a sunny summer's day, a sunset scene, and a night-time scene with a starry sky.


Choose the design you prefer, or make the whole set!

Click here to find the free downloadable Sycamore Gap pattern on my Patreon.


Monday, 27 September 2021

Felt Animal & Bird Brooch Craft Kits for Hawthorn Handmade

I've got some very exciting news to share today - I've designed some craft kits!

Hawthorn Handmade sell absolutely gorgeous beginner-friendly craft kits, and I am beyond thrilled to have been asked to work with them on some felt-y goodness. 

I loved working on these and am SO PLEASED with how they turned out. I hope you guys will be just as excited about them as I am. 

You can find the whole range of brooch kits here (they ship worldwide, hurrah!), but today I thought I'd show you half the collection: cute felt brooches featuring British wildlife. 

There's a hare...


... a deer...


... a wren...


... a hedgehog...


... a fox...


... and a tawny owl!


How nice are the photos they've taken of the finished brooches??? Oh my goodness. 

I'd love to know which one's your favourite (mine changes all the time!), and to see some photos if you buy and sew some of the kits xxx

 Click here to shop the whole range of felt craft kits. 

Thursday, 9 April 2020

Hello Spring: Tree Embroidery Patterns

Celebrate spring by stitching a tree (or three!).

Earlier this week I posted a tutorial for making spring trees textile art, and today I'm sharing a couple of spring tree embroidery patterns.


You can stitch this "Hello Spring" pattern - perfect for framing in a 4 inch embroidery hoop, turning into a patch or adding to small sewing projects - or a trio of simple little tree designs.

You'll find all four embroidery patterns at the bottom of this post.

I originally stitched this hoop as a sample to show off how you could use one of the little tree patterns in lots of cute projects, but then I thought I should probably share the whole pattern... so here we are!

The more free embroidery patterns to choose from the better, right?


I embroidered my "hello spring" design mainly with backstitch, adding French knots for the flower centres and sewing their petals as lazy daisy stitches. I used stranded embroidery thread (floss), stitching with three of the six strands from the skein. If you're sewing this design I'd recommend just adding a dot for the flower centre when tracing the pattern on your fabric instead of drawing the whole flower.

After sewing the main lines of the tree, I added some extra lines of running stitch for more detail and general cuteness. I used the same shade of green throughout but you could use two or three different shades if you like.

Of course you could also stitch these tree embroidery patterns in autumnal colours instead of spring ones, and adapt the hoop design to say "hello autumn" or "hello fall" with little leaves instead of flowers. Maybe I'll stitch that myself later in the year!


Want some more tree projects?

Click here for the felt textile art tutorial I shared earlier this week...

http://bugsandfishes.blogspot.com/2020/04/spring-trees-embroidered-felt-hoop-art-tutorial.html

... or click here to make colourful tree and leaf cards to send to your pals.

https://bugsandfishes.blogspot.com/2018/09/diy-autumn-trees-leaves-cards-tutorial.html

This pattern is for non commercial use only: you can use it to stitch as many trees as you want for yourself or as gifts, but please don't use them to make anything for sale. You may borrow a couple of photos if you want to blog about this project, but remember to credit me and link back to this page on my blog, and do not reproduce my entire  post or share my pattern on your site. Thanks!

Enjoyed these free patterns? Buy me a "coffee" and help support my blog!

Buy Me a Coffee at ko-fi.com

P.S. Subscribe to my newsletter for a monthly free pattern and visit my crafty tutorial archive for lots more free projects.

Visit my shop to buy my printable PDF sewing patterns:


Follow the links to open each pattern sheet in a new window, make sure you're viewing it full size then print it at 100%.

Click here for the Hello Spring embroidery pattern.


Click here for the spring trees patterns. 

Tuesday, 7 April 2020

Spring Trees: Embroidered Felt Textile Art Tutorial

This week on my blog it's all about SPRING.

Today I'll show you how to sew some embroidery hoop art featuring a trio of spring trees, then later in the week I'll be sharing some spring-themed embroidery patterns.


I drew these trees a couple of years ago, as part of a tutorial for making some autumn tree and leaf cards (which would also look fab in spring greens, by the way!). At the time I thought "ooh, these would look awesome in felt"... and now I've finally got around to trying that out.

https://bugsandfishes.blogspot.com/2018/09/diy-autumn-trees-leaves-cards-tutorial.html

I framed my trio of little trees in an oval embroidery hoop, but they'd also look great in a round hoop with some text added to fill the extra space (or maybe some simple felt flowers?). You could also use the shapes as a felt applique, adding a tree (or three!) to other sewing projects.

   
You will need:

- The tree templates from this tutorial
- Green and brown felt (three shades of green, plus two or three shades of brown)
- Green embroidery thread/floss (to match the green felt)
- Felt or fabric for the background
- A large embroidery hoop (you can resize the tree templates to fit if you need to)
- Sewing scissors (embroidery scissors are great for cutting out small felt shapes!)
- A sewing needle and some pins
- Sewing thread (any colour)


To make the hoop art:

1. Stretch your chosen backing felt/fabric in your embroidery hoop.

2. Use the templates to cut out one of each of the tree and trunk/branch shapes. Arrange the pieces on your hoop until you're happy with them. If I was sewing this again I'd definitely put the oval tree in the centre, as I did in the card tutorial, but this way is cute too!


3. Set aside the trunks/branches. Use sewing thread and large tacking stitches to hold the tree shapes in place on the backing felt/fabric.


4. With your chosen embroidery threads/floss (using three of the six strands in the skein), sew a line of running stitch around the inside of each tree shape. Try to keep your stitches neat and even to create a nice decorative effect.

I used darker thread on the lighter felt, and vice versa, so the stitches stood out clearly against the felt. Lie all your threads out on the felt pieces to test how they'll look and go with what looks best to you.


5. Remove the tacking stitches then, one by one, add the trunk/branch shapes and sew them in position. Use more embroidery thread/floss (using three strands again), this time using the green that matches the tree you're adding the trunk/branches to.


I recommend sewing a stitch at the very top and very bottom of the brown felt shapes to help hold them in position before filling in the rest of the stitching.


6. Trim any excess felt/fabric from around your embroidery hoop, leaving a few centimetres (about an inch) remaining. Then use a double thickness of sewing thread and running stitches to gather the felt/fabric together and pull it tight. Sew it securely then your hoop art will be ready to display.


This tutorial is for non commercial use only: you can use it to stitch as many trees as you want for yourself or as gifts, but please don't make any for sale. You may borrow a couple of photos if you want to blog about this project, but remember to credit me and link back to this page on my blog, and do not reproduce my entire  post or share my pattern on your site. Thanks!

Enjoyed this free tutorial? Buy me a "coffee" and help support my blog!

Buy Me a Coffee at ko-fi.com

P.S. Subscribe to my newsletter for a monthly free pattern and visit my crafty tutorial archive for lots more free projects.

Visit my shop to buy my printable PDF sewing patterns:


Saturday, 29 February 2020

A Wonderful Vintage Cross Stitch Booklet

Talking of my recent Instagram sales, last weekend I sold an utterly wonderful vintage cross stitch pattern booklet.


It got snapped up super quickly but it was so lovely I feel like it needs to be immortalised here on my blog so you can a) "ooooh" over its gorgeousness and b) know to buy it for yourself IMMEDIATELY if you ever come across a copy!!!

 
"Points de Croix Scandinaves" was published by the thread company DMC and OH MY GOSH IT IS SO BEAUTIFUL. It's got some lovely Christmas and Easter designs, some nice borders and useful alphabets, and pages of fruit and toys plus some charming ships and buildings... but it's the wildlife pages that just slay me.

Those mushrooms alone!! Just magnificent.

I also adore these birds and butterflies...


... and these lovely wildflowers (can you spot the cricket?)


I'd be hard pressed to pick a favourite design, but I have a lot of love in my heart for the floral wreath with the little bee. So delightful!


Which one's your fave?

Thursday, 17 January 2019

Weston-super-Mare in Pictures: October, November, & December 2018

Time to look back at my seaside snaps from the final quarter of 2018!

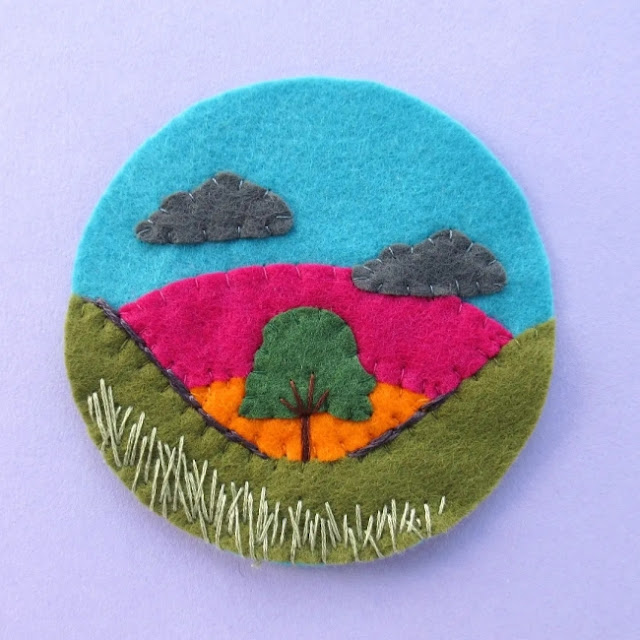
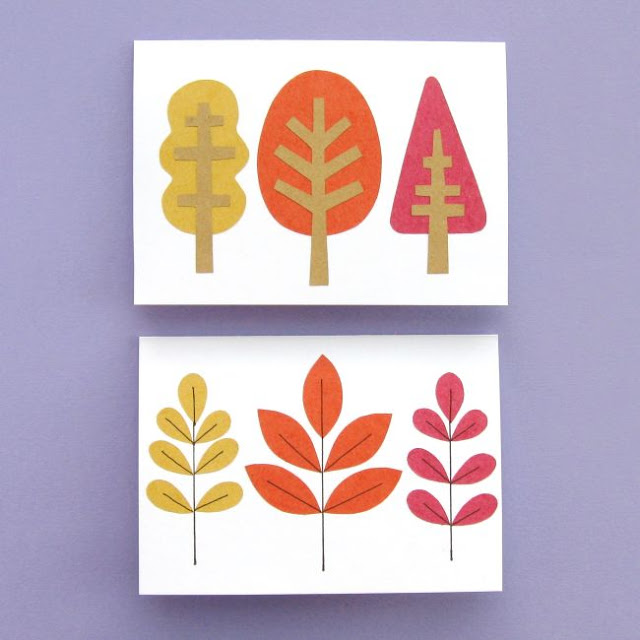
This autumn was full of glorious colour: always such a treat, but particularly on days of sunshine and blue skies.


I spent a lot of sunny afternoons walking around town scouting for nice-looking leaves, and then essentially stalking them: including them in my routes as often as possible until they faded and dropped.

I particularly enjoyed this fabulous door + gate + climber combo...


... and I literally gasped when I turned a corner and found this beauty. 


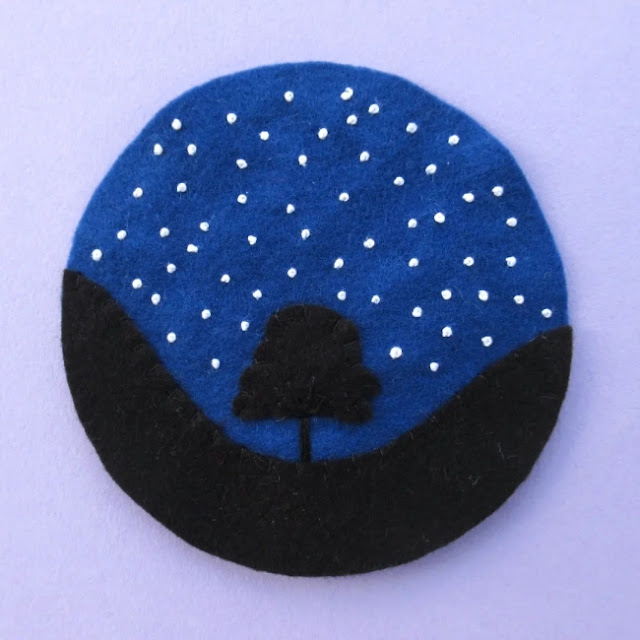
The previous year, as the nights drew in, I made it a habit to build my schedule around the sunset as much as possible. I timed my trips into town so I'd be walking back along the beach as the light faded, and spent a lot of time gazing at the pastel tints of the sky and filling up my camera roll with (largely terrible) sunset snaps.

I didn't do as much of that this time round, sadly, but the few beach sunsets I did enjoy were pretty magical.


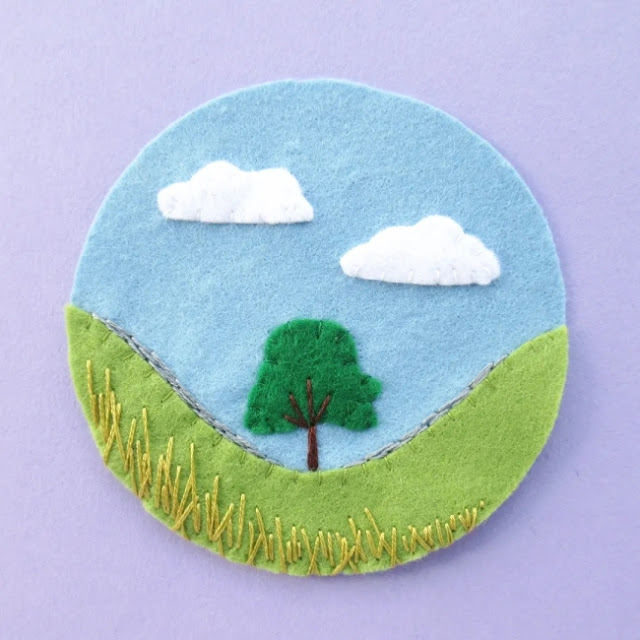
As ever, I've continued to keep my eye out for interesting shapes and textures. I particularly loved this tree...


... and this gleaming seaweed... 


... and this patched-up garage door.


Oh, and I fell in love with a fish and chip shop! Actually going here for fish and chips is on my 2019 Must Do list.


I've started walking a lot more lately - both further and more often - and have to admit that I'm getting a little obsessed with walking! This year I've wanted to get out for walks whatever the weather, and in the autumn and winter that means walking in the cold, the rain and through a lot of mud... and upgrading my wardrobe and footwear accordingly.


I'm still walking a lot on the beach and through town, but I'm also spending as much time as possible out in the nature reserves (Uphill, Walborough, and Bleadon Levels). They're so beautiful!


I'm planning on walking there a lot in 2019, but also trying to get across town more often to walk up Worlebury Hill and through the woods. I walked up the hill late one December afternoon and was rewarded with the most wonderful view:


Watching the sunset as I walked back down the hill and homewards was quite delightful!

Then right at the close of the year, I snapped a strong contender for my 2019 Christmas card (haha)...


 ... and encountered a trio of birds who posed for juuuuust long enough for me to take this photo! Very considerate of them.


Here's to lots more walking in 2019!

Click here to catch up on the rest of my seaside photo round-ups, and here to follow along on Instagram.