
Today I'll show you how to sew some embroidery hoop art featuring a trio of spring trees, then later in the week I'll be sharing some spring-themed embroidery patterns.


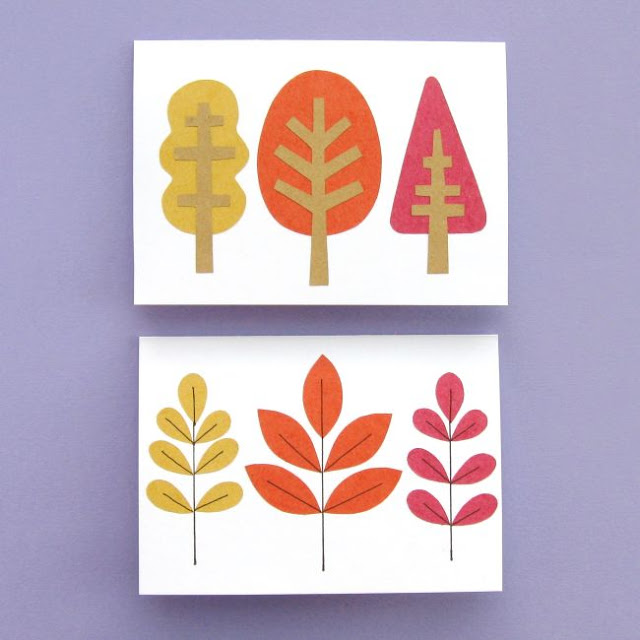
I drew these trees a couple of years ago, as part of a tutorial for making some autumn tree and leaf cards (which would also look fab in spring greens, by the way!). At the time I thought "ooh, these would look awesome in felt"... and now I've finally got around to trying that out.
I framed my trio of little trees in an oval embroidery hoop, but they'd also look great in a round hoop with some text added to fill the extra space (or maybe some simple felt flowers?). You could also use the shapes as a felt applique, adding a tree (or three!) to other sewing projects.


You will need:
- The tree templates from this tutorial
- Green and brown felt (three shades of green, plus two or three shades of brown)
- Green embroidery thread/floss (to match the green felt)
- Felt or fabric for the background
- A large embroidery hoop (you can resize the tree templates to fit if you need to)
- Sewing scissors (embroidery scissors are great for cutting out small felt shapes!)
- A sewing needle and some pins
- Sewing thread (any colour)

To make the hoop art:
1. Stretch your chosen backing felt/fabric in your embroidery hoop.
2. Use the templates to cut out one of each of the tree and trunk/branch shapes. Arrange the pieces on your hoop until you're happy with them. If I was sewing this again I'd definitely put the oval tree in the centre, as I did in the card tutorial, but this way is cute too!

3. Set aside the trunks/branches. Use sewing thread and large tacking stitches to hold the tree shapes in place on the backing felt/fabric.

4. With your chosen embroidery threads/floss (using three of the six strands in the skein), sew a line of running stitch around the inside of each tree shape. Try to keep your stitches neat and even to create a nice decorative effect.
I used darker thread on the lighter felt, and vice versa, so the stitches stood out clearly against the felt. Lie all your threads out on the felt pieces to test how they'll look and go with what looks best to you.

5. Remove the tacking stitches then, one by one, add the trunk/branch shapes and sew them in position. Use more embroidery thread/floss (using three strands again), this time using the green that matches the tree you're adding the trunk/branches to.

I recommend sewing a stitch at the very top and very bottom of the brown felt shapes to help hold them in position before filling in the rest of the stitching.

6. Trim any excess felt/fabric from around your embroidery hoop, leaving a few centimetres (about an inch) remaining. Then use a double thickness of sewing thread and running stitches to gather the felt/fabric together and pull it tight. Sew it securely then your hoop art will be ready to display.

This tutorial is for non commercial use only: you can use it to stitch as many trees as you want for yourself or as gifts, but please don't make any for sale. You may borrow a couple of photos if you want to blog about this project, but remember to credit me and link back to this page on my blog, and do not reproduce my entire post or share my pattern on your site. Thanks!
Enjoyed this free tutorial? Buy me a "coffee" and help support my blog!

P.S. Subscribe to my newsletter for a monthly free pattern and visit my crafty tutorial archive for lots more free projects.
Visit my shop to buy my printable PDF sewing patterns:
0 comments:
Post a Comment