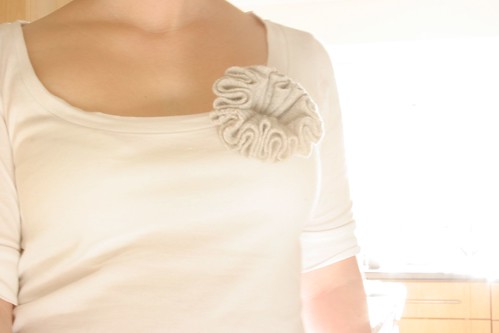
I had quite a bit of wool left over from making Mr.Rabbit so in the spirit of spending less and recycling I thought I’d use some of it this week. And I’ve written a little tutorial for you so you can make one too.
1 ) Cut out six circles from your felted wool (or whatever fabric you have to hand). I used a teacup as the template.
2 ) Thread a needle with a piece of strong white thread and tie a knot in the end.
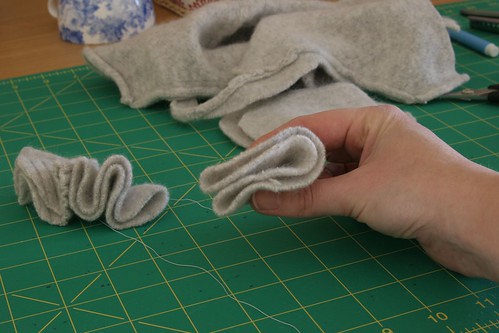
3 ) Fold one of the circles in half and half again.
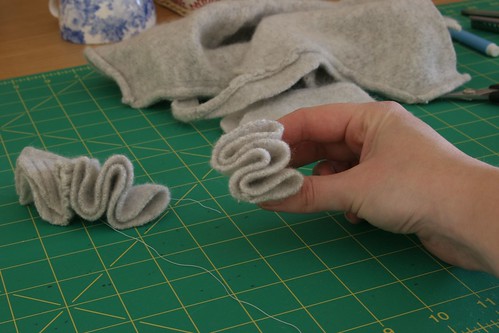
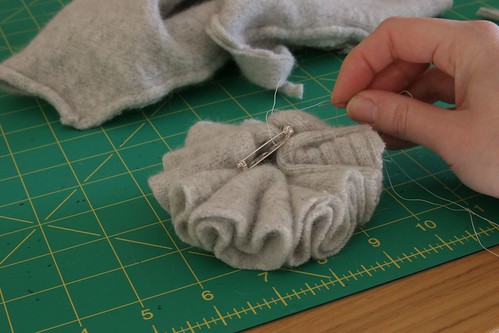
4 ) Then fold each flap out on to itself. Hard to explain this in words so have a look at the photos but leave a comment here if you need more explanation.5 ) Pull the needle and thread through all the folds.
6 ) Then fold the next circle. And sew through that too.
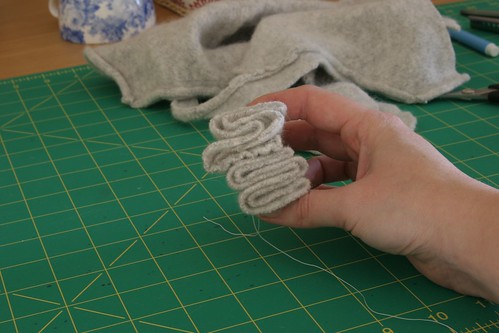
7 ) Keep going until you’ve sewn together all six.
8 ) Secure it all with a few stitches until you’re happy with how it looks.
9 ) Attach a brooch bar or safety pin on to the back and you’re all done.
----You can check out all 52 weeks of Christine's crafty year over on her blog.
Subscribe to my newsletter for a monthly free pattern and visit my crafty tutorial archive for lots more free projects.

1 comments:
A brilliant tute! I was thrown by the '2nd folds' but then I saw your picture - I am a visual learner and this was particularly useful! Thank you x
Post a Comment