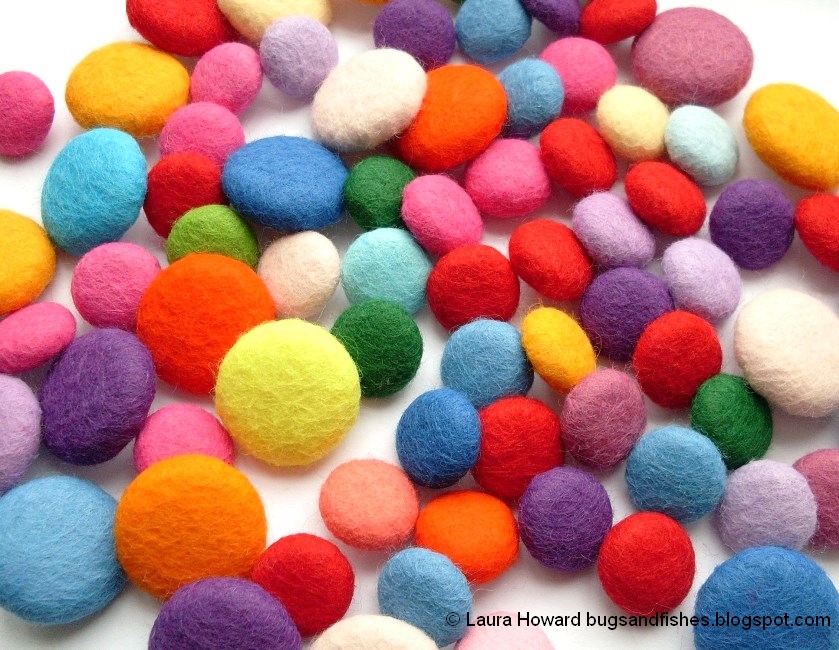
As I mentioned last week, I've re-opened my craft supplies shop and am busy stocking it with lots of colourful, crafty goodness.
I've been busy photographing, measuring, and listing a whole bunch of lovely new things. Wanna see?
There are felt rainbows (and pick-you-own-colour felt squares), rainbow ribbons, pretty rainbows of pins, and bargain rainbow embroidery thread bundles. So much lovely colour!
I've also got some fab ribbon that's printed to look like a measuring tape, some black elastic for mask-making, cover buttons and a super-useful button covering tool (perfect for making felt buttons), and some GORGEOUS shimmery two-tone buttons.
Then there's embroidery scissors (so useful for cutting out small felt pieces!), lovely wooden cotton reels, big card bobbins for organising your yarns and ribbons, and some white elastic.
I've also bought some cute and colourful stickers. These are great for crafty projects, gift wrapping, journalling and scrapbooking, and for sticking on your snail mail.
There are cute woodland animal stickers (I've been sticking these on my shop parcels lately, I love them!), rainbow star, dot, and heart sticker sheets, and lots of colourful dots. I think the dots would be wonderful for creating bullet-pointed lists in your journal or diary!
I've also got colourful retro vinyl stickers featuring rainbows and unicorns and other fun stuff, and I've got some bargain books of mini stickers: cute kitties and happy stars.
Pen-wise, I've listed some fun colour-changing pens and a pair of metallic markers (I love a good metallic marker!). Then I've got giant wooden pegs (because why not? Oversized stuff is so joyful!) and packs of gorgeous glitter card (sooooooo shiny).
If you'd rather have tiny pegs than giant ones, don't worry - I've got you covered. I'm also selling a fab pack of luggage tags (I just adore those bright colours), a useful pack of coloured card, and some flower press kits.
I'm particularly excited to be stocking the flower presses as I feel
like they're just the kind of relaxing, nature-loving craft we all need
right now! I've got three sizes in stock, ranging from a mini press to
the biggest flower press I have ever seen in my LIFE (seriously, it is
HUGE). The boards are blank for you to decorate with paint, decoupage,
stickers, etc, so one of these kits is basically two crafty projects in
one.
Click here to visit my shop and see everything that's in stock!
Showing posts with label button covering tool. Show all posts
Monday, 25 May 2020
New Craft Supplies in My Shop!
Labels:
button covering tool,
buttons,
cover buttons,
craft supplies,
crafting,
embroidery thread,
felt,
flower press,
gift tags,
glitter,
haberdashery,
new,
pegs,
pens,
pins,
ribbon,
scissors,
stickers,
threads
Tuesday, 24 March 2020
How To: Make Felt Covered Buttons
Sooo... we're all staying inside and making things for the next few weeks, then?!
If you're looking for crafty ideas to help yourself relax and pass the time, remember you'll find loads of free patterns and project ideas in my tutorial archive and my printable PDF patterns are still available as instant downloads over in my Etsy shop.
I've also got lots of fun projects in progress which I'll be sharing here on my blog in the coming weeks. First up: how to make awesome felt buttons!
Felt buttons are so much fun. I've made lots of them over the years with colourful felt scraps left over from other projects, and I thought it was high time I shared a "how to" with you guys so you can make some too.
Felt buttons are, essentially, buttons covered in felt. You can use them to embellish all kinds of craft projects and they make fantastic centres for felt flowers (they'd look great with my fabulous flowers!).
To make them you'll need some cover buttons in your chosen size(s) - I prefer plastic ones because they're cheaper but metal ones are also available. You'll find these for sale in online craft shops, Etsy, or in your local craft or haberdashery shop (when those re-open again! Gosh these are such weird times we're in, aren't they?).
You'll also need some felt, of course. Cover buttons are designed to be used with fabric, so thinner and more flexible felt works best. I usually use a soft wool/acrylic blend which looks lovely but is easy to stretch around the button shape.
If you're planning on making lots of buttons I'd highly recommend buying a button covering tool. Pressing the front and back of the cover buttons together takes a fair bit of force and the button tool will save you a lot of effort, as well as helping you make nice neat buttons.
I use the Prym universal button covering tool, it includes holes for five different button sizes (11mm, 15mm, 19mm, 23mm, and 29mm)... I've got a lot of use out of mine over the years!
Your cover buttons will probably come with a template, showing you how large your piece of fabric (or, in our case, felt) needs to be to cover the button. The Prym tool came with a template, too.
Use the correct size template to cut out a circle of felt from your chosen colour.
To cover the button in felt, you need to wrap the felt around the front of the cover button then press the back of the button into position. The back clicks inside the front, holding the edges of the felt/fabric in place and giving you a lovely button ready to use.
The button tool is really helpful during this process! To cover a button using the tool place your felt circle over the correct sized hole in the tool then add the front of the button on top, facing down.
Carefully press your button and the felt into the rubbery shape. The felt will be pushed up around the button, as shown.
Squash the edges of the felt down towards the centre of the button with your fingers.
Put the back cover button piece in position then use the hard section of the button covering tool to press it firmly in place.
Your finished buttons may look slightly different if you use a different style of button to mine, but here's how the back of my button looked:
And here's the front. Mmm... buttony goodness...
Now just sew your finished button to your chosen project, as you would with a normal button.
Caution: making felt buttons is slightly addictive! :)
Enjoyed this free tutorial? Buy me a "coffee" and help support my blog!
P.S. Subscribe to my newsletter for a monthly free pattern and visit my crafty tutorial archive for lots more free projects.
Visit my shop to buy my printable PDF sewing patterns:
If you're looking for crafty ideas to help yourself relax and pass the time, remember you'll find loads of free patterns and project ideas in my tutorial archive and my printable PDF patterns are still available as instant downloads over in my Etsy shop.
I've also got lots of fun projects in progress which I'll be sharing here on my blog in the coming weeks. First up: how to make awesome felt buttons!
Felt buttons are so much fun. I've made lots of them over the years with colourful felt scraps left over from other projects, and I thought it was high time I shared a "how to" with you guys so you can make some too.
Felt buttons are, essentially, buttons covered in felt. You can use them to embellish all kinds of craft projects and they make fantastic centres for felt flowers (they'd look great with my fabulous flowers!).
To make them you'll need some cover buttons in your chosen size(s) - I prefer plastic ones because they're cheaper but metal ones are also available. You'll find these for sale in online craft shops, Etsy, or in your local craft or haberdashery shop (when those re-open again! Gosh these are such weird times we're in, aren't they?).
You'll also need some felt, of course. Cover buttons are designed to be used with fabric, so thinner and more flexible felt works best. I usually use a soft wool/acrylic blend which looks lovely but is easy to stretch around the button shape.
I use the Prym universal button covering tool, it includes holes for five different button sizes (11mm, 15mm, 19mm, 23mm, and 29mm)... I've got a lot of use out of mine over the years!
Your cover buttons will probably come with a template, showing you how large your piece of fabric (or, in our case, felt) needs to be to cover the button. The Prym tool came with a template, too.
Use the correct size template to cut out a circle of felt from your chosen colour.
To cover the button in felt, you need to wrap the felt around the front of the cover button then press the back of the button into position. The back clicks inside the front, holding the edges of the felt/fabric in place and giving you a lovely button ready to use.
The button tool is really helpful during this process! To cover a button using the tool place your felt circle over the correct sized hole in the tool then add the front of the button on top, facing down.
Carefully press your button and the felt into the rubbery shape. The felt will be pushed up around the button, as shown.
Squash the edges of the felt down towards the centre of the button with your fingers.
Put the back cover button piece in position then use the hard section of the button covering tool to press it firmly in place.
Your finished buttons may look slightly different if you use a different style of button to mine, but here's how the back of my button looked:
And here's the front. Mmm... buttony goodness...
Now just sew your finished button to your chosen project, as you would with a normal button.
Caution: making felt buttons is slightly addictive! :)
Enjoyed this free tutorial? Buy me a "coffee" and help support my blog!
P.S. Subscribe to my newsletter for a monthly free pattern and visit my crafty tutorial archive for lots more free projects.
Visit my shop to buy my printable PDF sewing patterns:
Labels:
button covering tool,
buttons,
cover buttons,
craft tutorial,
crafting,
felt,
felt buttons,
felt crafting,
how to
Wednesday, 8 February 2012
Nostalgia + Lots of Craft Supplies
While sorting through a box of bits and bobs this week, I found this mini notebook. The panda's eyes flick from being blue to having big red hearts in them. Cute, huh?
When I was very small and obsessed with sewing clothes for Barbies or Flower Fairies or Sylvanian Families, I used to write notes for my sewing projects in here...
... but spelling was never my strong point! :)
In other news, I've added a few "new" listings over in my Etsy shop - larger quantities of some popular items in my supplies section.
You can now buy a set of 24 mini 3inch embroidery hoops...
... a bumper button-making kit with 60 cover buttons instead of the 20 included in the basic starter kit...
.... a huge bundle of 144 skeins of embroidery thread / floss (4 skeins of each of the 36 rainbow colours)...
... and a set of 4 giant wooden buttons:
Oh, and just a heads up for all you felt fans, there's just one pack each left of the "warm tones" and "cool tones" felt bundles as I'm discontinuing them to make room for a couple of new packs later this spring.
When I was very small and obsessed with sewing clothes for Barbies or Flower Fairies or Sylvanian Families, I used to write notes for my sewing projects in here...
... but spelling was never my strong point! :)
In other news, I've added a few "new" listings over in my Etsy shop - larger quantities of some popular items in my supplies section.
You can now buy a set of 24 mini 3inch embroidery hoops...
... a bumper button-making kit with 60 cover buttons instead of the 20 included in the basic starter kit...
.... a huge bundle of 144 skeins of embroidery thread / floss (4 skeins of each of the 36 rainbow colours)...
... and a set of 4 giant wooden buttons:
Oh, and just a heads up for all you felt fans, there's just one pack each left of the "warm tones" and "cool tones" felt bundles as I'm discontinuing them to make room for a couple of new packs later this spring.
Labels:
button covering tool,
childhood,
cover buttons,
craft supplies,
embroidery hoops,
embroidery thread,
felt,
giant buttons,
nostalgia,
notebook,
sewing,
wooden buttons
Subscribe to:
Posts (Atom)