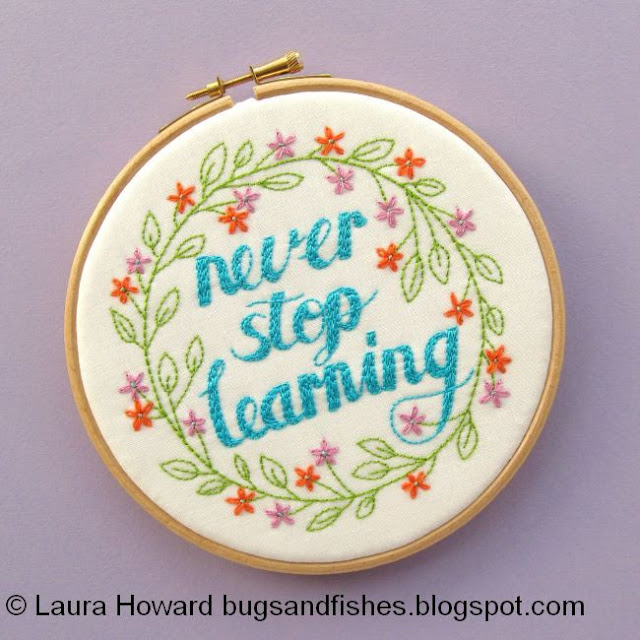
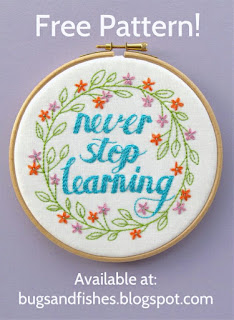
Today I've got a new embroidery project to share: a free pattern to remind to you to never stop learning.

This post is sponsored by Obby: a new site for discovering creative classes in London.
As people with crafty hobbies, we all know how great it feels to learn something new. To try new skills and techniques, to stretch yourself and have the satisfaction of that YESSSSSS moment when you get a technique just right or finish your first project. (I have been known to do little happy dances round the room in those moments).
Well, Obby want more people have have those moments! On their site you can find and book all kinds of creative classes and workshops in London. You can learn baking, sewing, flower-arranging, perfume-making, photography, wine-tasting, crochet, cooking, embroidery and much, much more.
Today's never stop learning embroidery pattern is inspired by these creative possibilities and the joy of learning new things. I hope you'll enjoy stitching it!
You'll find the free embroidery pattern at the bottom of this post. You can, of course, stitch it on anything you like but it's designed to be framed in a six inch embroidery hoop.
To get started, transfer the pattern to a piece of fabric using your preferred transfer method. I chose a white quilting cotton and used a window as a lightbox, holding the pattern and fabric in place with masking tape while I carefully traced the design with a sharp pencil.
Once you've transferred the design, lay the fabric on top of a piece of white felt and place them both in a seven inch embroidery hoop (I like to use a slightly larger hoop than the design will be framed in, to make it easier to stitch the edges of the design). The layer of felt adds sturdiness for stitching the design and will help prevent threads from showing through the white fabric. If you're using a darker and/or thicker fabric you could skip the felt, or add some iron-on interfacing if you prefer.
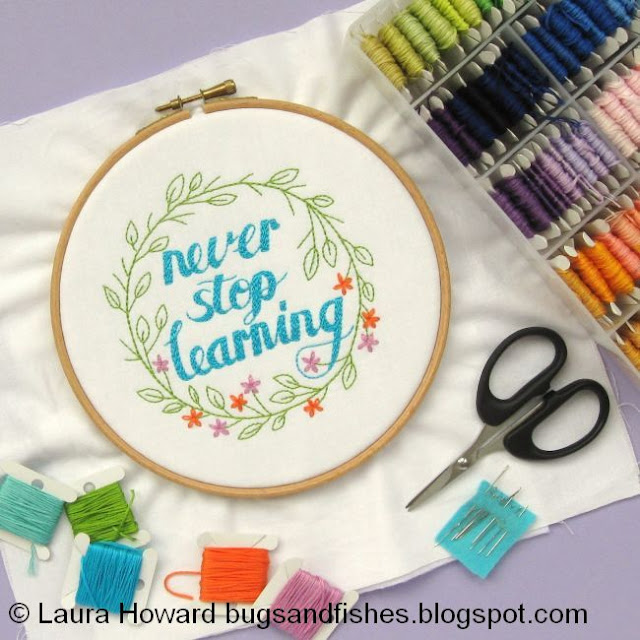
Time to start stitching!
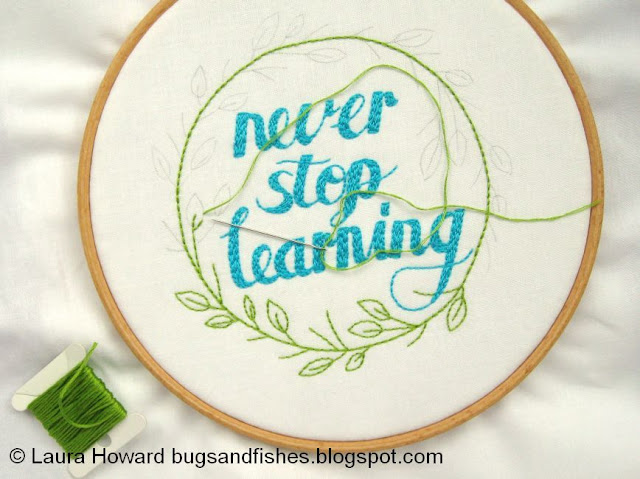
Choose the shade of stranded embroidery thread (floss) you want for the lettering; I chose a bold turquoise blue. Using three strands only, backstitch the outlines of the letters then fill them in with more lines of backstitch. Don't pull your stitches too tight or you risk puckering the fabric.
Here and throughout, avoid carrying your thread across the back of the work to keep the back neat and to help prevent threads showing at the front.
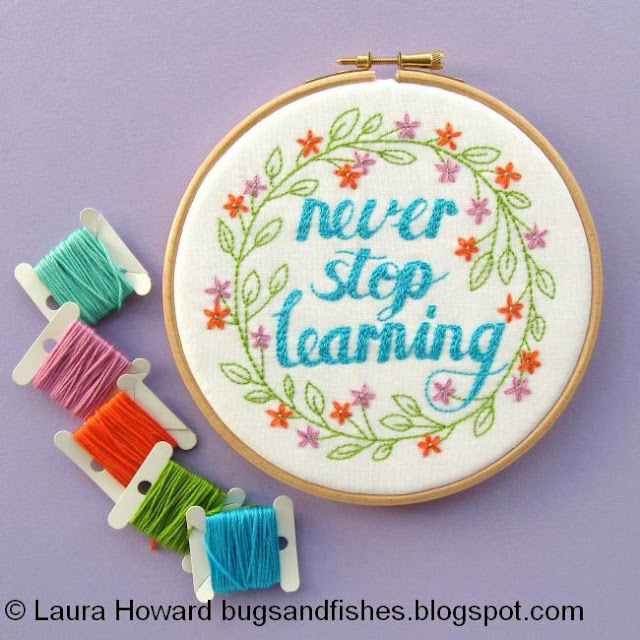
When you've stitched all the text, choose some co-ordinating embroidery thread colours for the wreath. You'll need green for the leaves and branches of the wreath but you can use any colours you like for the flowers. I chose a bright spring green for the leaves, pink and orange for the flowers and light turquoise for the flower centres.
Start by stitching the circular wreath shape, using backstitch and three strands of green thread.
Then switch to using just two strands and backstitch the leaves and branches.
Now it's time to add the flowers. Each flower is made using the Lazy Daisy stitch - if you've not sewn these before just search online for "Lazy Daisy tutorial" and you'll find lots of step by step tutorials and videos to help you.
Use three strands of thread for each flower, adding one flower to the end of each bare branch and switching between your chosen colours as you work around the wreath. If you're using two colours, you could use my photos as a guide.
The final bit of embroidery is to add the flower centres. With three strands of thread, sew two tiny stitches in the centre of each flower (like an X).
Now remove your fabric (and felt, if you've used some) from the embroidery hoop and re-frame it in a six inch hoop. Take your time getting the design centred in the hoop then tighten the screw as much as you can to keep the fabric (and felt) secure.
Trim the fabric (and felt) roughly, as shown.
If you used a layer of felt to back your design, carefully trim it right down to the edge of the hoop. Take care not to snip the fabric in the process!
With a double thickness of white thread (or thread to match the fabric you've chosen) sew a line of running stitch around the edge of the fabric. Gently pull the thread so that the fabric gets pulled together as shown, then secure the thread with a few stitches.
You've finished! Hurrah! You can now add a loop of co-ordinating ribbon if you want, or hang your hoop directly from a hook or nail.
DISCLOSURE: This post is sponsored by Obby, your place to discover London's favourite classes and workshops.
Click here to open the pattern sheet in another tab or window. Make sure you're viewing it full size then print it at 100% - I've included a scale line so you can check if it's printed the correct size.
This embroidery pattern is for non commercial use only: you can stitch it as many times as you like for yourself or as gifts, but
please don't use it make anything for sale. You may borrow a photo or two if you want
to blog about this project, but remember to credit me and link back to
the original source, and do not reproduce my entire post or share the pattern itself on your
site. Thanks!







5 comments:
Thank you so much for this. After years of cross stitch I recently did my first embroidery, and now I can look forward to trying this design too. x
Hi:
I have 2 of you books and my 10 year old daughter just loves, loves the projects in them. She has made aleast 10 animals and flowers from them in less than a week. She also enjoys your blog. Thanks for entertaining a 10 year old!!
Thanks so much for your comment, Deepa! I'm delighted to hear that your daughter is enjoying making projects from my books. I was mad about felt crafting when I was her age, I hope she'll continue to enjoy sewing things and reading my blog :)
Thank you so much for sharing! I love this quote of yours!
Thank you! :)
Post a Comment