Saturday, 29 February 2020
A Wonderful Vintage Cross Stitch Booklet
It got snapped up super quickly but it was so lovely I feel like it needs to be immortalised here on my blog so you can a) "ooooh" over its gorgeousness and b) know to buy it for yourself IMMEDIATELY if you ever come across a copy!!!
"Points de Croix Scandinaves" was published by the thread company DMC and OH MY GOSH IT IS SO BEAUTIFUL. It's got some lovely Christmas and Easter designs, some nice borders and useful alphabets, and pages of fruit and toys plus some charming ships and buildings... but it's the wildlife pages that just slay me.
Those mushrooms alone!! Just magnificent.
I also adore these birds and butterflies...
... and these lovely wildflowers (can you spot the cricket?)
I'd be hard pressed to pick a favourite design, but I have a lot of love in my heart for the floral wreath with the little bee. So delightful!
Which one's your fave?
Thursday, 27 February 2020
Brilliant Books, Crafty Goodness, & Vintage Loveliness
New items are listed every Sunday at lauralupinsells. If you've got an Instagram account, comment on the items you'd like and I'll get back to you asap to sort out payment. Don't have an Instagram account but seen something you fancy? Just send me a message via my contact form.
I always charge exact postage for these sales to help make them a bargain. In the UK we can send a shoebox size parcel weighing up to 2kg for just £3 (hurrah!). I'm always happy to look up international postage costs, too, just ask!
Here are some of the items I've added this month which are still available to purchase...
A couple of fab bird books (the pages of these would be so nice for framing, or cutting up to use for collages, card making and other paper crafts).
Tapestry yarns.
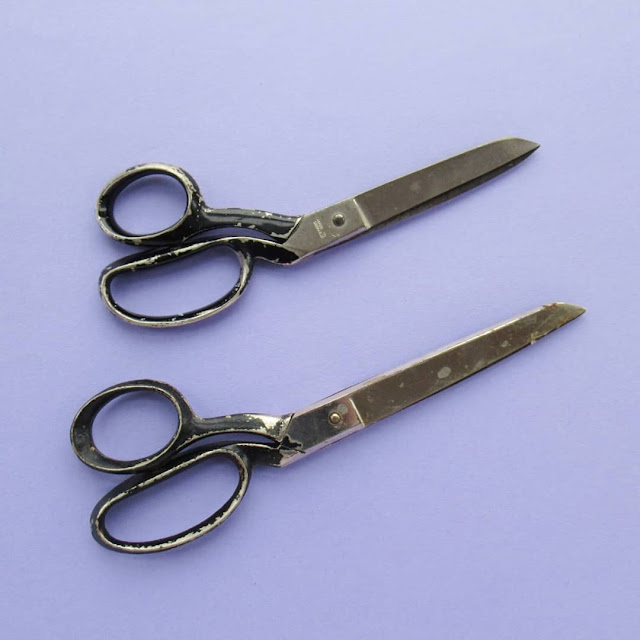
Vintage scissors.
Boxes of second hand buttons (some vintage, some more recent).
A guide to edible and medicinal plants which looks like a great reference book but (like the bird books) would also be great for sourcing images for paper crafting.
A vintage game including lots of letter cards (sooooo good for paper crafts, or making banners and gifts for special occasions like weddings).
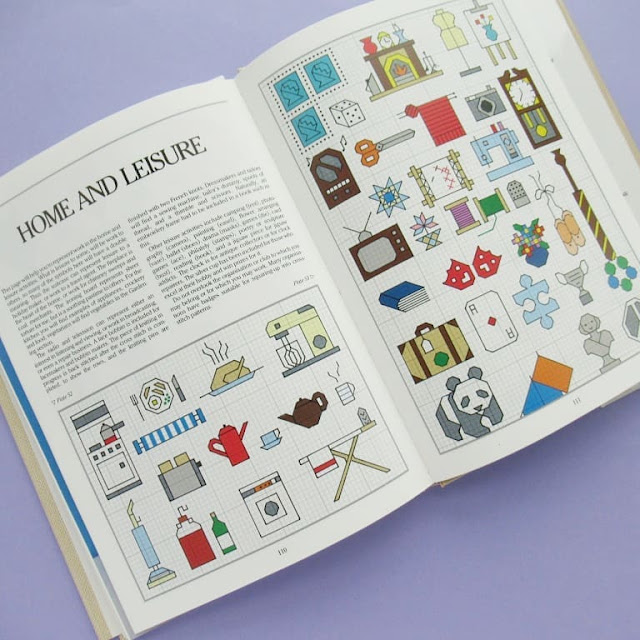
A selection of lovely cross stitch books.
More craft books.
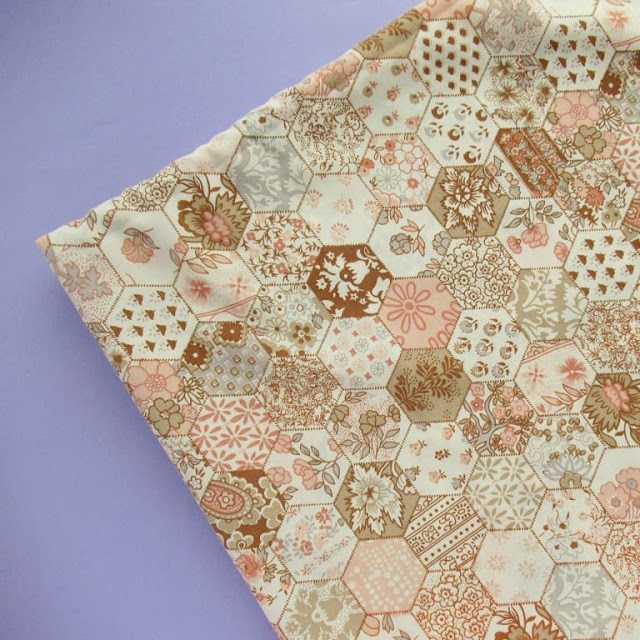
A really pretty vintage duvet cover.
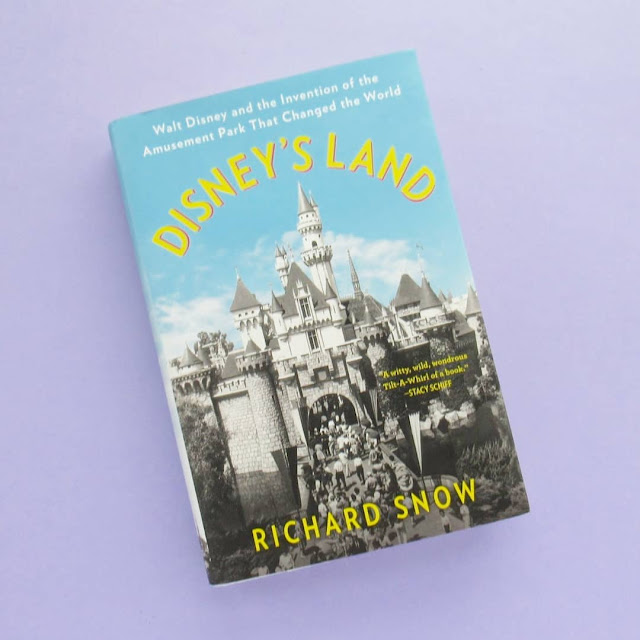
A whole bunch of recently published non-fiction hardbacks (all unread and in need of good homes!)
Lots of vintage stamps, including this pack of bird and butterfly stamps.
A 90s Jackie Annual (teen nostalgia central!)
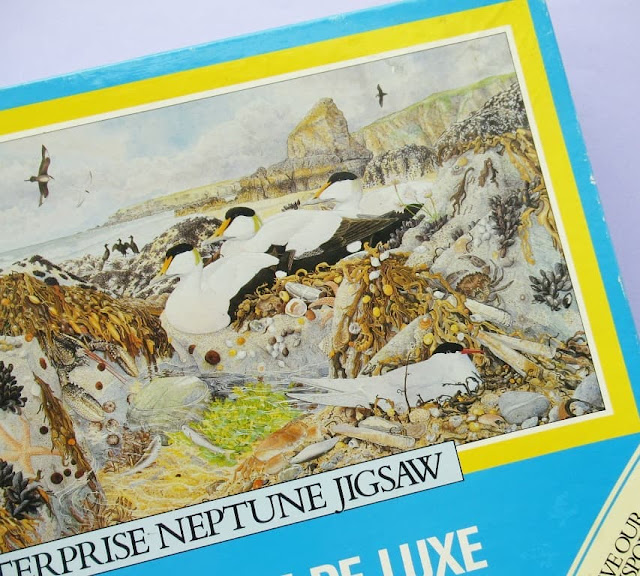
And a gorgeous vintage jigsaw puzzle featuring an illustration of the Cornish coast (so much detail with all those rocks and seaweed and shells and feathers!).
Head to lauralupinsells to see everything that's still available, and look out for the new listings this Sunday!
Tuesday, 11 February 2020
Cute Owl Embroidery Pattern
This pattern is the second in a new series I've started where I'm reworking some of my old designs and turning them into embroidery patterns.
This owl was orginally a tutorial for sewing a felt plushie, which I later adapted to show you how to make felt owl ornaments... and now you can embroider an owl, too! Hurrah!
Here are three of the designs I've stitched so far:
I shared the folk flowers embroidery pattern last month, and next month you'll get to stitch that rainbow LUCKY PANTS design (so much fun).
You'll find the PDF owl embroidery pattern over on my Patreon.
Subscribe for a small monthly fee and you'll get access to a growing library of PDF patterns and tutorials, with an email whenever I add a new project. You can cancel any time.
Click here to check out my Patreon page and sign up!
I stitched my owl mostly with backstitch, using three strands from six-stranded embroidery thread (floss). I also added single stitches for the very short lines and two French knots for the pupils.
I stitched my owl on white fabric to make the colours really pop, and framed it in a 5 inch embroidery hoop.
I actually started out sewing the owl on some pale brown felt. The colours looked okay but didn't stand out brilliantly and it looked rubbish when I took photos! It was a faff having to start again, but totally worth it as I'm really pleased with the finished version.
As for that owl I embroidered on felt? I didn't let it go to waste! I cut it out carefully, added a matching backing piece of felt and a ribbon loop and now have a little embroidered owl ornament.
Luckily it looks much cuter in real life than in the photos! Haha. (Note to self: check how your chosen materials look when photographed together BEFORE you start sewing with them).
P.S. Subscribe to my newsletter for a monthly free pattern and visit my crafty tutorial archive for lots of free projects.
Visit my shop to buy my printable PDF sewing patterns:
Tuesday, 4 February 2020
How To: Appliqued Heart Bag for Valentine's Day
This tutorial was originally designed for The Village Haberdashery's blog - visit their shop for lots of crafty goodness!
You will need:
* The template sheet from my Valentine’s wreath tutorial.
* A blank cosmetic bag or other small purse.
* Felt in the following colours: pink, bright pink, lilac, and dark purple.
* Matching embroidery threads (floss).
* Light pink sewing thread (i.e. to match the colour of the largest heart).
* Sewing needles and pins.
* Optional: an air-erasable fabric marker pen.
To decorate the bag:
1. Use templates A, B, C and D from the Valentine’s wreath tutorial to cut out four heart pieces. A = bright pink. B = lilac. C = dark purple. D = pink.
2. Follow steps 5 and 6 of the Valentine’s Wreath tutorial to sew the layers together, using contrasting embroidery thread (I used pink thread, then bright pink, then lilac then dark purple) to decorate the hearts and stitch them together. Use half the embroidery thread strands only – so for six-stranded thread just use three strands.
3. Iron the cosmetic bag if required then position the felt heart in the centre. Hold or pin it in position then sew it in place with whip stitch and matching pink sewing thread. Take care to only sew through one layer of the bag!
4. To complete the decoration, fill in the space around the heart with embroidery. I stitched backstitch lines radiating from the heart, alternating between bright pink and dark purple and using half strands as before. Use an air-erasable fabric marker pen to draw guide lines from your stitching or just stitch freehand.
Make sure not to sew through the fabric edge of the zip (hold this away from the bag fabric when you’re stitching near the opening). Knot your thread at the end of each section of stitching and start afresh when sewing the next section, don’t carry threads across the inside of the bag (you don’t want whatever you put in the bag to “catch” on trailing threads!).
If you're giving this bag as a gift, why not fill it with Valentine's candy before wrapping it for a sweet (PUN ENTIRELY INTENDED) extra gift.
Enjoyed this free tutorial? Buy me a "coffee" and help support my blog!

P.S. Subscribe to my newsletter for a monthly free pattern and visit my crafty tutorial archive for lots more free projects.
Visit my shop to buy my printable PDF sewing patterns:


