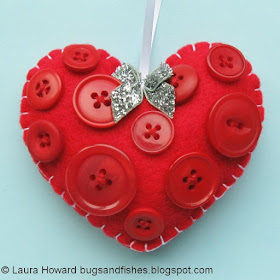
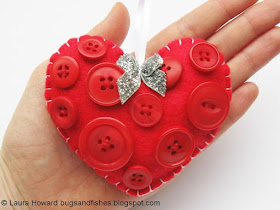
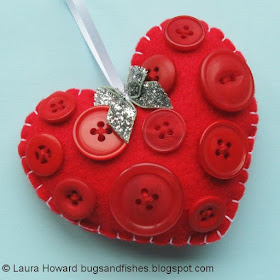
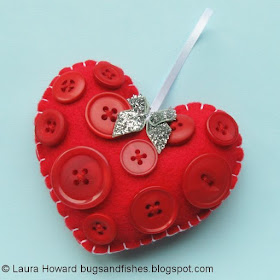
Time for another Christmas tutorial! Today, learn how to make a felt heart ornament covered in buttons.
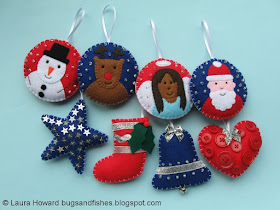
This button heart ornament is part of a set of cute felt Christmas decorations I designed for docrafts Creativity magazine last year.
I'm sharing all the tutorials so you can sew a whole set of ornaments, or mix and match your faves. So far I've shared the snowman bauble, the stripey stocking, the reindeer bauble, the sparkly star and the angel bauble. The final two projects will be popping up on my blog in the next couple of weeks.
To make the button heart, you will need:
- templates (see the bottom of this post)
- red felt
- red sewing thread
- assorted red buttons
- a mini ribbon bow and matching sewing thread (I used a fabulously sparkly glitter bow from the docrafts Create Christmas range and white thread)
- white embroidery thread (floss)
- white narrow ribbon
- toy stuffing
- sewing scissors
- sewing needles and pins
To make the button heart:
1. Use the templates provided to cut out two heart shapes from red felt.
2. Arrange buttons. Lay out on one heart then sew onto other. Leave space at edges for sewing together and adding bow. Smaller, lighter buttons = best for this. Sew buttons on securely with several stitches of double thickness red thread.
3. Add mini bow with a few stitches in centre - to attach the silver bow I used white thread.
4. Cut a 15cm (6 inch) length of narrow white ribbon. Fold the ribbon into a loop and sew the ends to the top of the undecorated heart shape. Use whip stitch and red sewing thread, sewing into the felt not through it.
5. Place the front and back heart pieces together so the ends of the ribbon are sandwiched between the two layers and the loop sticks out the top above the bow.
Hold or pin the two heart pieces together and blanket stitch around the edge, using half strands of white embroidery thread. Stitch most of the way round - folding the bow forward as you sew behind it - and leave a gap for stuffing.
Tip: start your stitching at one side, so the gap for stuffing is along a straight edge.
6. Add small pieces of stuffing to gradually fill the heart, stuffing it lightly so it's evenly filled but still very squishy. Then sew up the gap with more blanket stitches and finish your stitching neatly at the back.
This tutorial is for personal use only: you can use it to stitch as many felt ornaments as you want for yourself or as gifts, but please don't make any for sale. You may borrow a photo or two if you want to blog about this project, but remember to credit me and link back to the original source, and do not reproduce my entire post or share the pattern itself on your site. Thanks!
Enjoyed this free tutorial? Buy me a "coffee" and help support my blog!

Subscribe to my newsletter for a monthly free pattern and visit my crafty tutorial archive for lots more free projects.
Visit my shop to buy my printable PDF sewing patterns:




Hello Laura,
ReplyDeleteI just went back and pinned all your tutorials for this wonderful ornaments! So excited! By the way, as a word of encouragement, I own Super Cute Felt, Tis the Season To Be Felty (love that title!), and Stash Happy Felt. I specifically bought the last one because of the cover! :) Take care and blessings! Patricia
Thanks so much for your lovely comment, Patricia! :) Happy crafting xxx
ReplyDelete