Add a pop of colour to any outfit with a felt flower brooch!
This week I'm sharing four easy ideas for using the templates from my
April Felt Flowers Wreath tutorial, kicking off with some pretty flower brooches.
This tutorial was originally designed for
The Village Haberdashery's blog, using felt and other craft supplies from their shop.
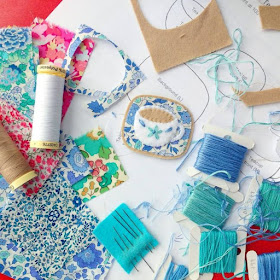
You will need:
- The flower templates from
April's wreath tutorial
- Felt in assorted colours
- Matching sewing thread
- Contrasting or coordinating embroidery thread
- One button per flower
- Brooch clasps
- Sewing needles and pins
- Sewing scissors or embroidery scissors (embroidery scissors are great for cutting out detailed felt shapes!)
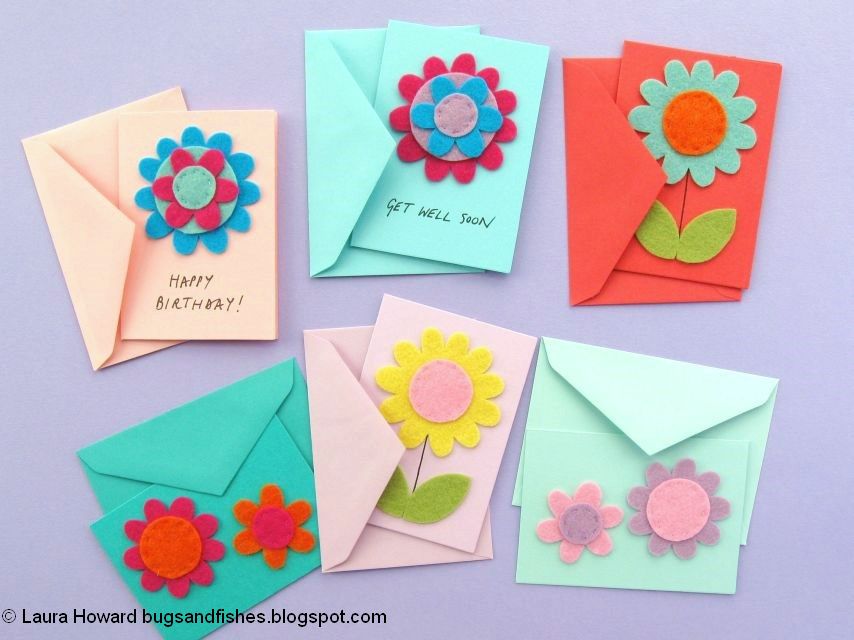
To make the brooches:
Use the flower templates, mixing and matching shapes to create layered flowers. I used two colours but you could use as many as you like. Top each flower with a small circle cut using template H.
Sew the layers together with a small X of two stitches, using sewing thread to match the felt (or the buttons you’ll be adding later).
Then use half strands of embroidery thread (so, for six-stranded thread just use three strands) to decorate the flowers. Sew single stitches along the inner petals, starting each stitch from under the central felt circle. Use a contrasting or coordinating colour for this - I used dark pink.
Add a button to the centre of each flower, sewing them securely in position with a double thickness of matching sewing thread.
Use the templates to cut a backing circle for each brooch, small enough to fit within the largest flower shape. I cut these from purple felt but any colour will do as it won’t be visible when worn.
Position a brooch clasp just above the centre of each circle, sewing them in place with a double thickness of matching sewing thread.
Place the circles on the backs of the flowers, as shown. Sew them into position with whip stitch and matching sewing thread, sewing into the layers of felt but not through them – so the circles are secured but the stitching isn’t visible at the front of the brooch.
This tutorial is for non commercial use only: you can use it to make as many brooches as you want for yourself or as gifts, but
please don't make any for sale. You may borrow a couple of photos if you want
to blog about this project, but remember to credit me and link back to
this page on my blog, and do not reproduce my entire tutorial / share my templates on your
site. Thanks!
Enjoyed this free tutorial? Buy me a "coffee" and help support my blog!
 P.S. Subscribe to my newsletter for a monthly free pattern and visit my crafty tutorial archive for lots more free projects.
Visit my shop to buy my printable PDF sewing patterns: